·Home ·Antler Tables ·Antler Chairs  ·Antler Lighting ·Antler Accessories ·Antler Cribbage Boards ·Antler Art ·Shirts·
  Antler Products
  Bookstore
  Alaska Adventures
  Building a Log Cabin
  Timber Frame Tower
  All About Us


Aaron and I began to realize a dream this year as we started making real steps to creating a home in the hillside of Anchorage.  We started land shopping back in January 2009 and realized how much it costs to develop land in the hills around Anchorage.  Apparently the water just pours out of the mountains here so there are lots of issues with ground water...which means....septic systems are EXPENSIVE! 

The first piece of land we found was perfect and we fell in love with it, but ended up having problems with the title.  The piece we ended up buying is ideal for the house we designed.  We've been drawing house plans for the last few years; I never really imagined we make one of these designs are reality.

Update 2014- As much as we loved our timber frame in Bear Valley, we ended up selling it to some lovely neighbors.  We are in limbo between Montana and Alaska, but are back in MT for now. I'd be lying if I didn't say I miss Alaska everyday, and miss our home, and miss Bear Valley! It is so magical there!
 

Bear Valley, Anchorage, Alaska


Finally breaking ground. We waited MANY months for this moment.


The septic system underway~ We were blessed with good enough soils for a conventional septic system.


Digging for the foundation.


We had to have a lot of dirt hauled in to make a parking spot. We quickly realized we'd need rock to support the massive amount of fill brought in.

foundation

Foundation time....

There it is the base for our tower.  The dimensions for the concrete are 23x23. The house will be 22x22 inside the walls x three stories.

The big bolts that are responsible for keeping our tower on it's feet.  The house was engineered for our earthquake zone and 125 mph winds.  No joke it is that windy up there!

The guardrail at the parking area.


The well was painful....every foot is $$$, and lots of it.  We finally hit water at 327 ft.  Our well driller, Alpine Drilling, was awesome though. We all guessed we'd hit around 200 ft.  We were WAY off!~ 


Aaron and I pretty much backfilled the whole thing by hand with shovels and buckets. We couldn't fit a machine around two sides of the house...so we moved the equivalent of three dump truck loads of dirt by hand....exhausting!


Building the subfloor.

Sheeting the subfloor.


Subfloor done and foundation backfilled.  Adam arrived to lend a hand for a week.  (Thanks Ashild....we never could have done it without him)


August 12, 2009


Our timber frame....what an exciting day! As much as Aaron and I wanted to do the timber work ourselves, we couldn't due to financing reasons. I'm sure it would have taken us a bit to get the hang of it, and the bank gives us a year for a construction loan.  We hope to build our shop on our own.


Adam was the lucky one to run the telehandler.  He did awesome. The extendable boom wasn't quite long enough for all we needed but it saved us a ton of work.


The pile of timbers. They are deceiving in size in these pictures.  The large octagonal timber on the right is the cant that goes in the center of the vaulted ceiling in our top floor.


Putting a timber frame together is a puzzle.  The head scratching began.  Our first day of assembly we found four center posts that were all three or so inches too long. 


Scary....but it worked.


Adam is afraid of heights...he always gets the fun jobs. 


Figuring out the first floor joists. 

It's starting to look like a house.


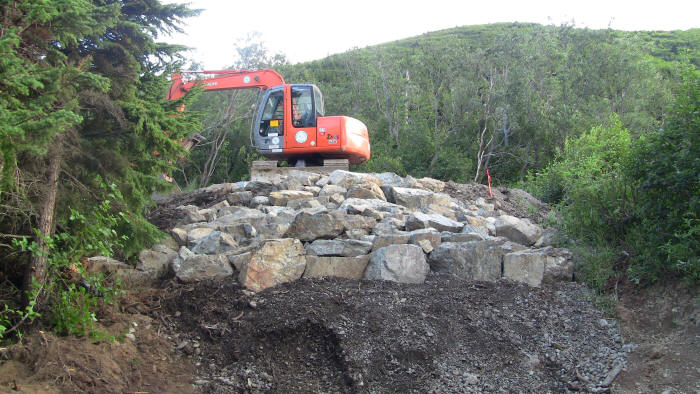
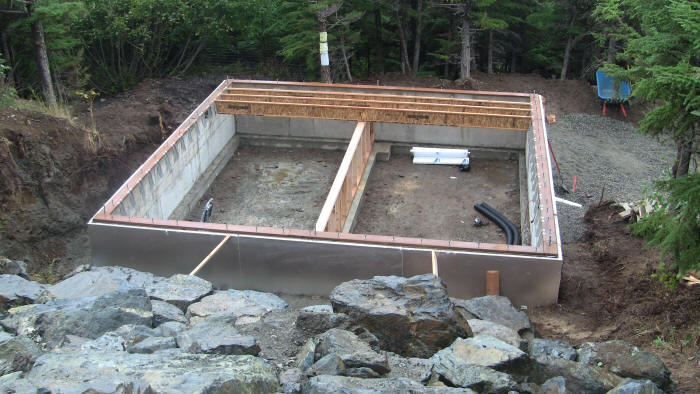
The end of day two...

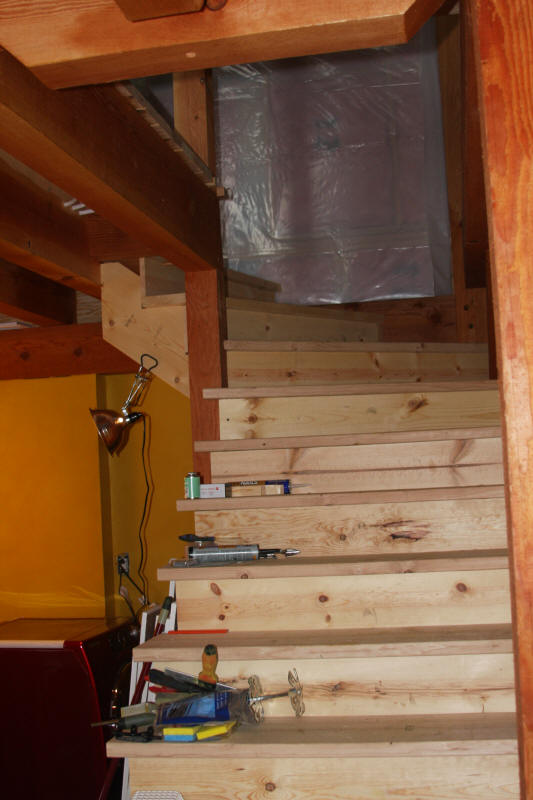
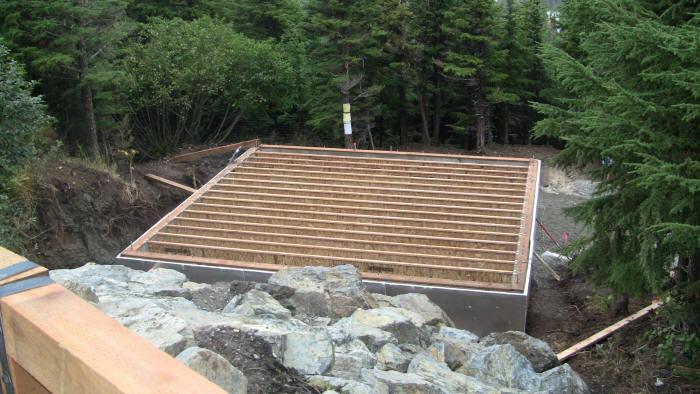
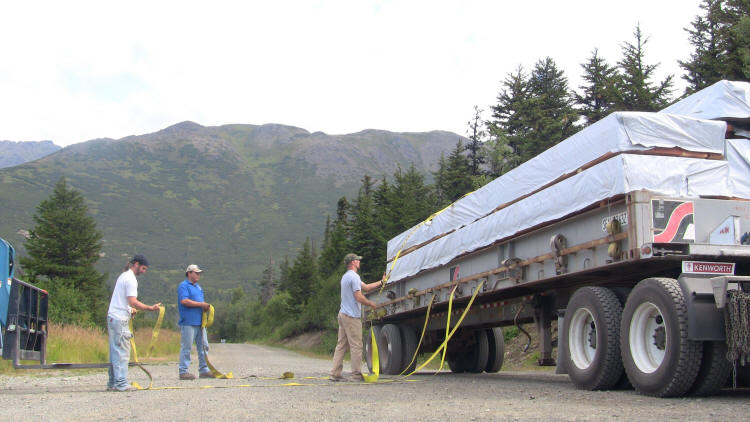
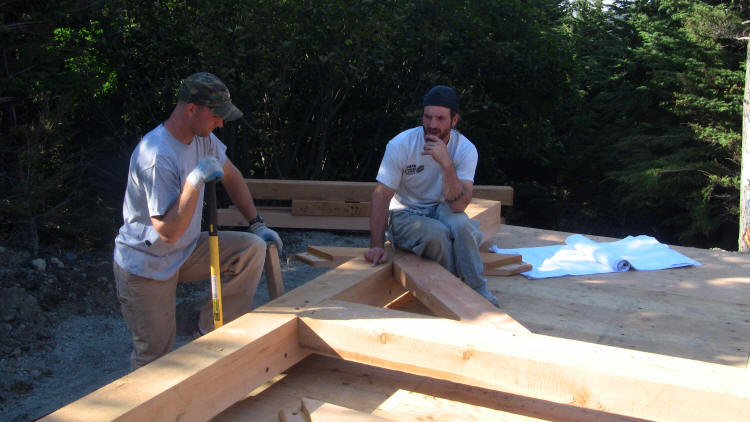
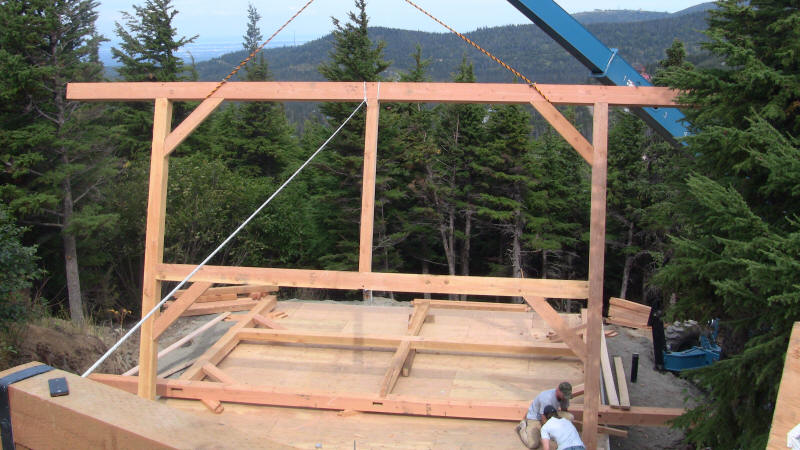
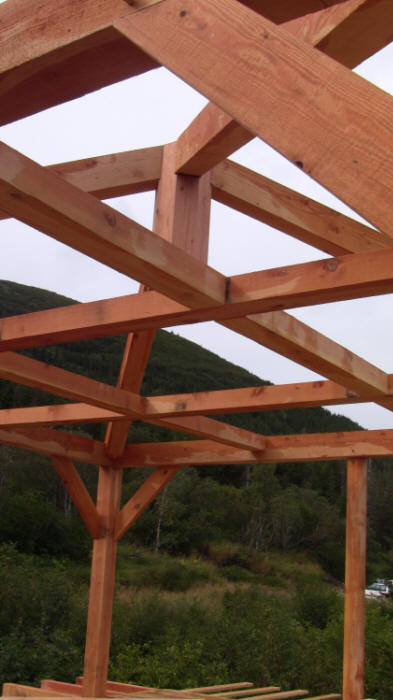
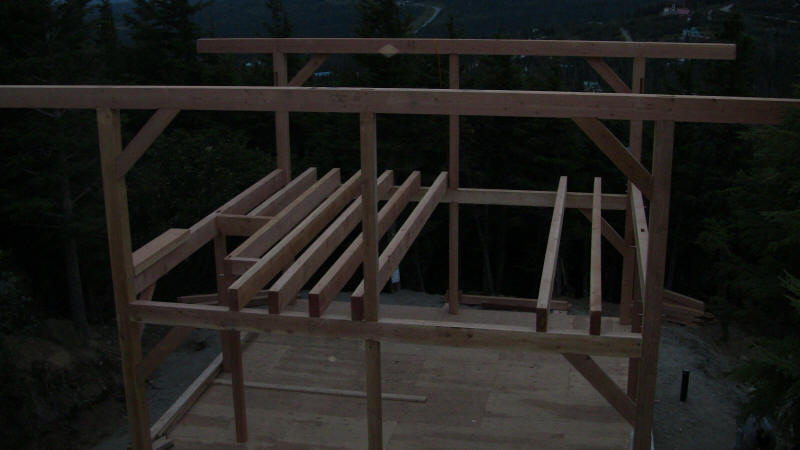
August 13, 2009

The view up under the first floor.
 

The third floor joist....monsters. The guys are trying to figure out a good plan...


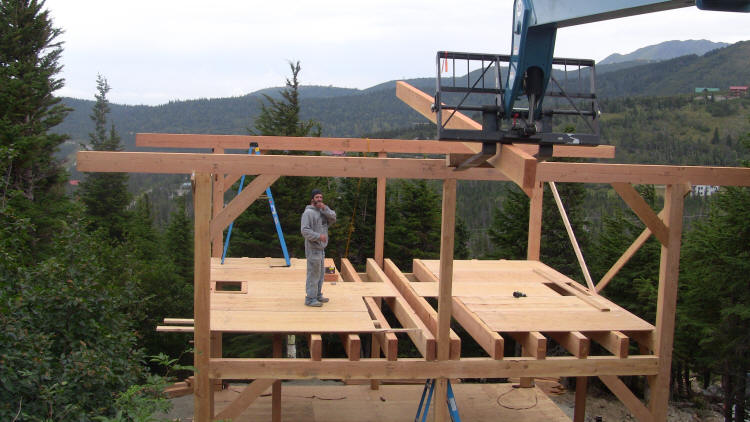
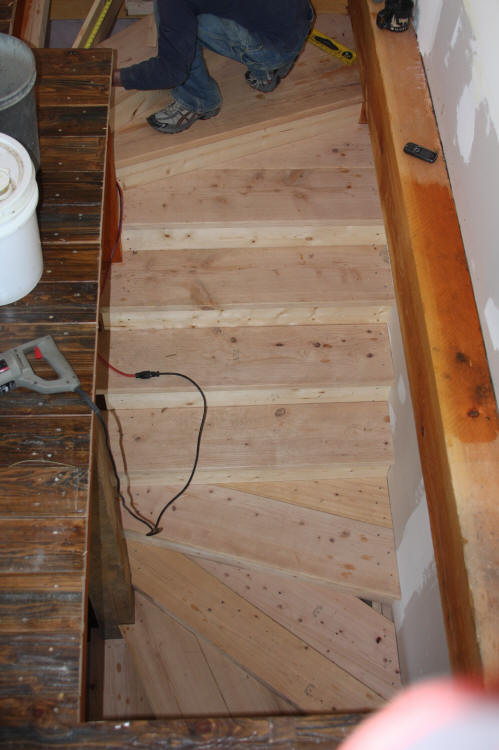
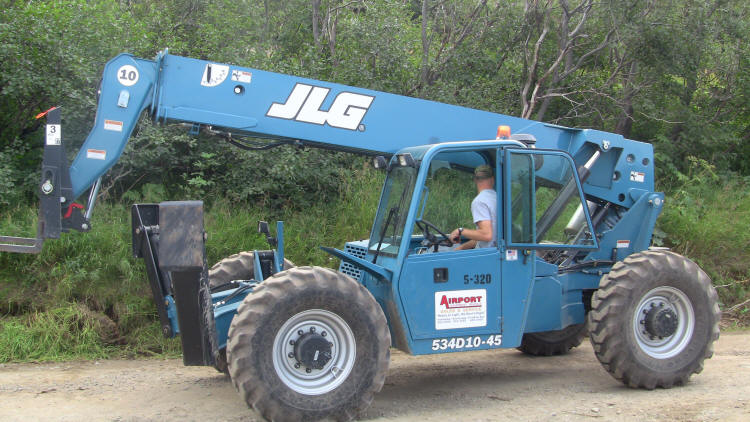
We used the fork to pinch the joists one at a time end out and managed to get all the joists on the third level.


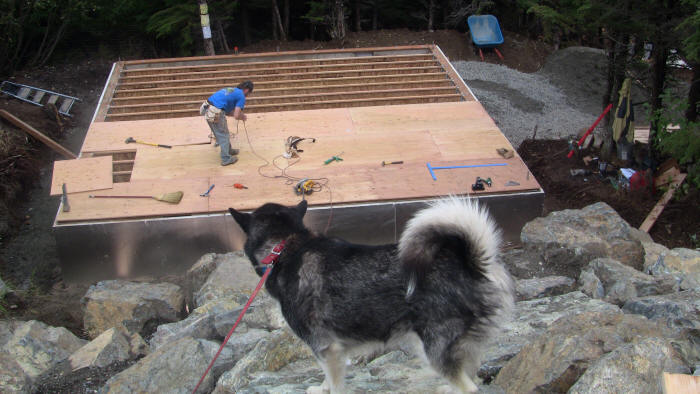
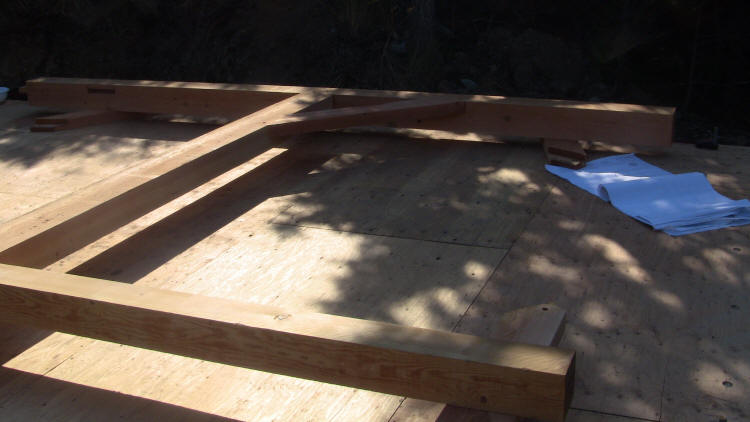
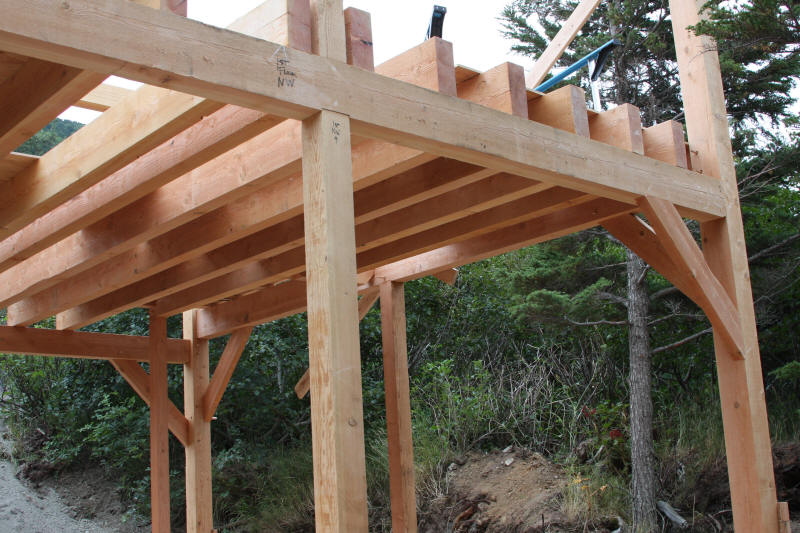
The floor joists.

The end of day three.


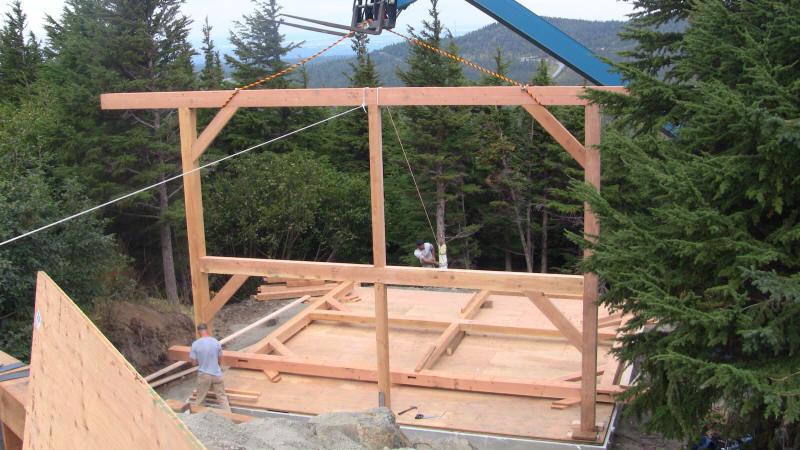
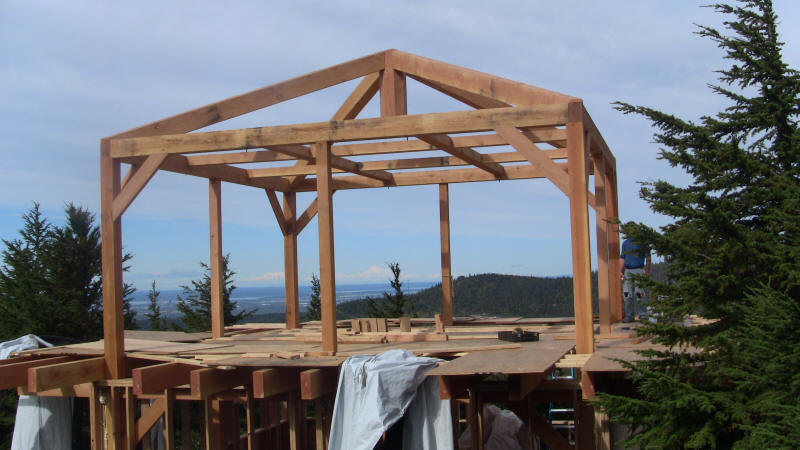
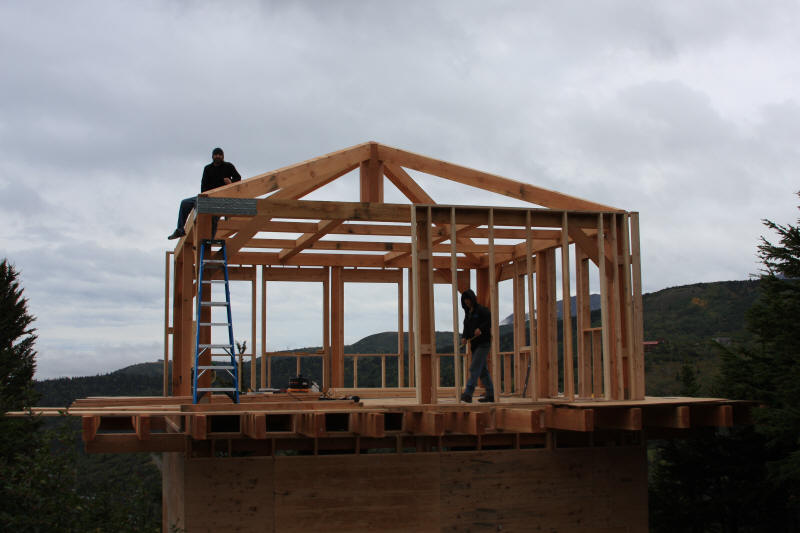
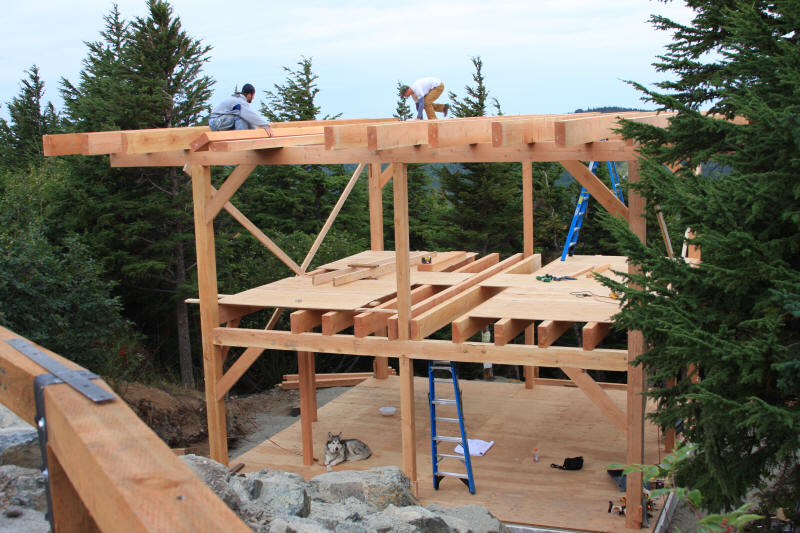
August 14, 2009

We were less than impressed by the weather....not an easy task putting together the roof structure in 40mph winds and rain.  After putting up the four corner posts for the third level, we decided working some 24ft off the ground was for the birds. There was no way we could hand assemble the roof system with just the three of us.  So we assembled it on the floor of the third level and started researching crane or boom truck services that could reach 60+ feet and hold the weight.  The crane couldn't make it out for  a few days....so we started framing.

End of day four.


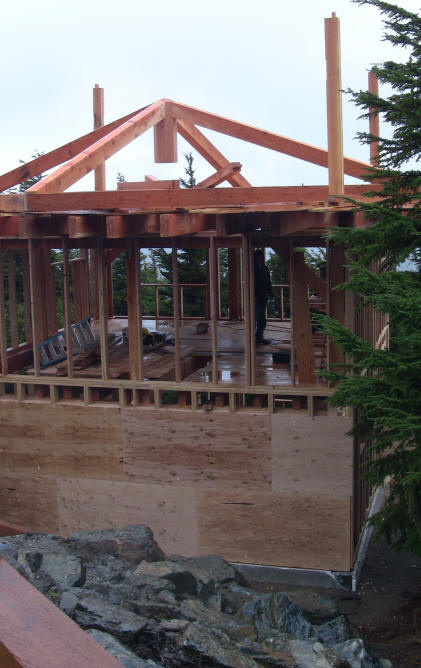
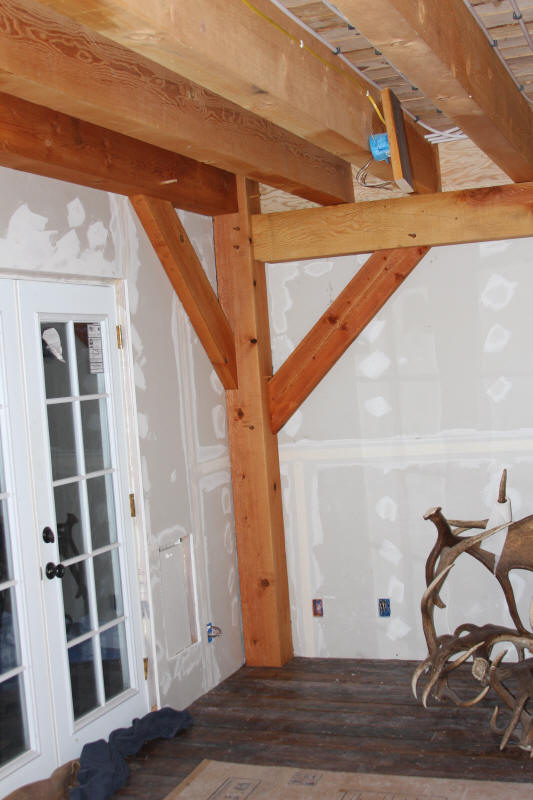
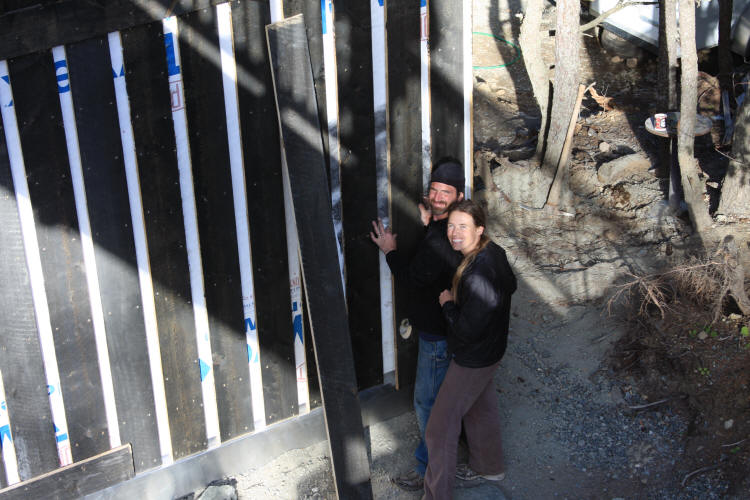
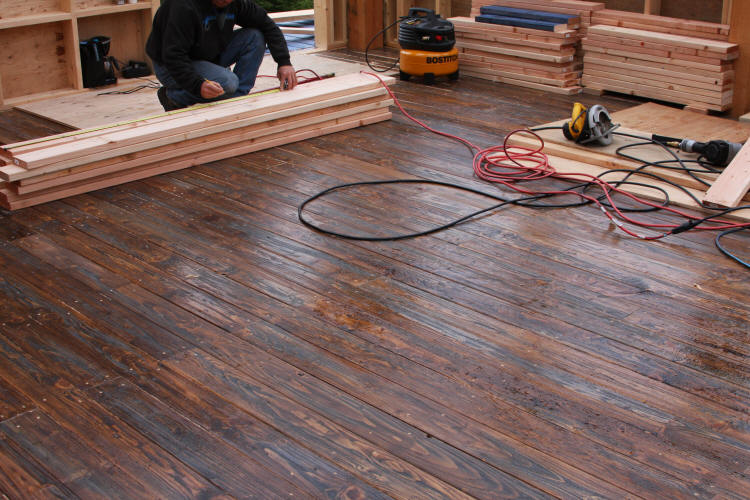
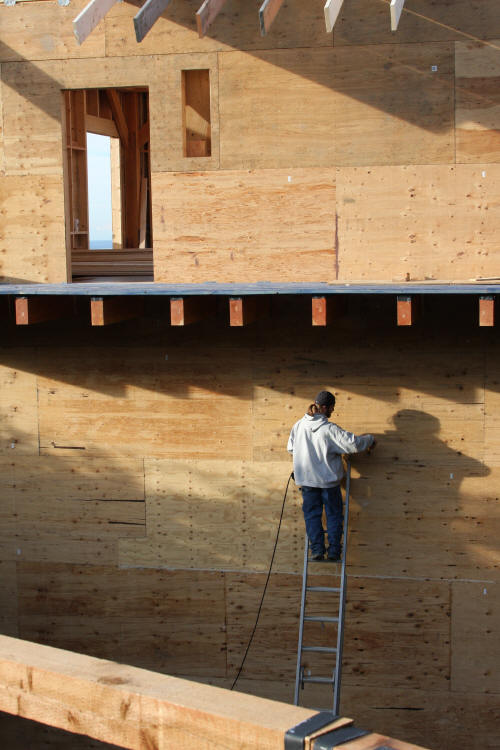
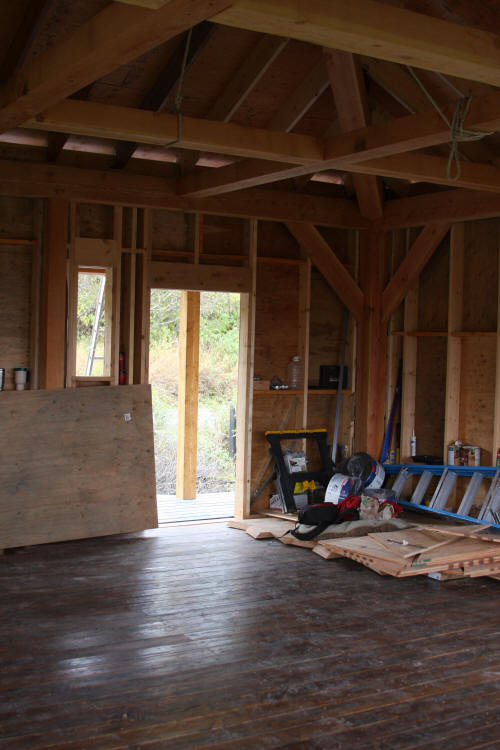
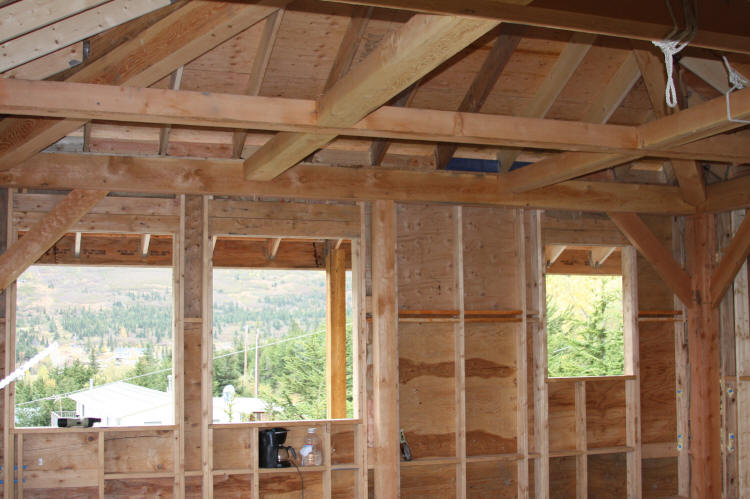
We framed the walls on the outside of the timber frame to keep the look of the full timbers on the inside of the house. 


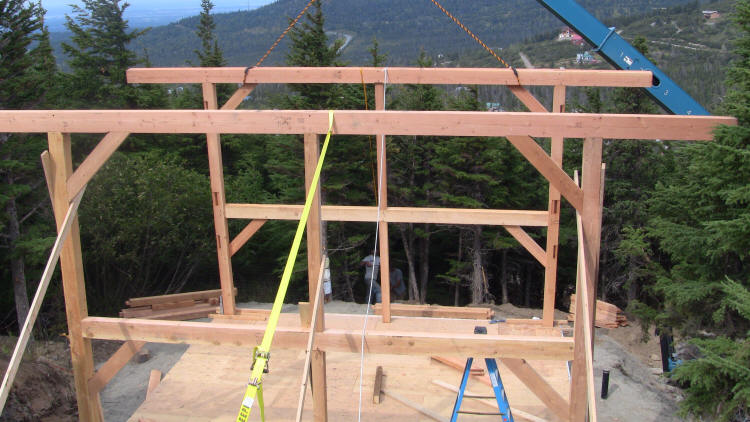
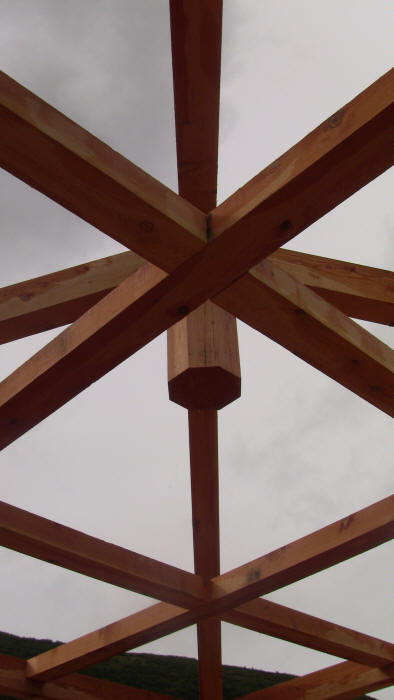
Crane Day

We thankfully had enough hands to from many gracious friends and the crane rigger....but we could have used a few more hands...we each tried to man a corner to insert the knee braces and someone tried to put the center posts in....it took some creative thinking, but we managed.


It was awesome to finally have the third floor and roof section in place.


A sunny day.  The view from the third level is stunning.  Denali and Foraker make for a magnificent view.


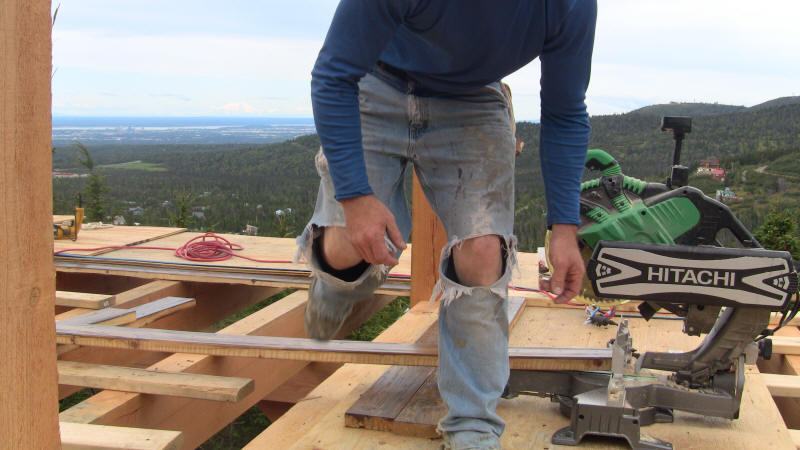
High quality construction clothes!!!


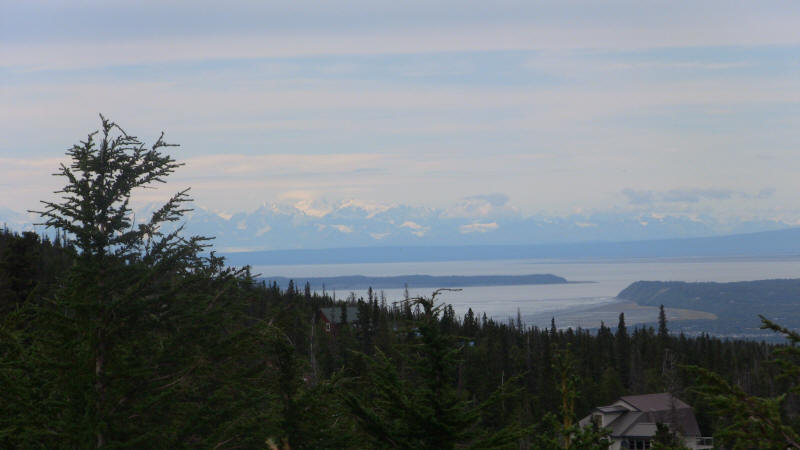
The view towards the Inlet.


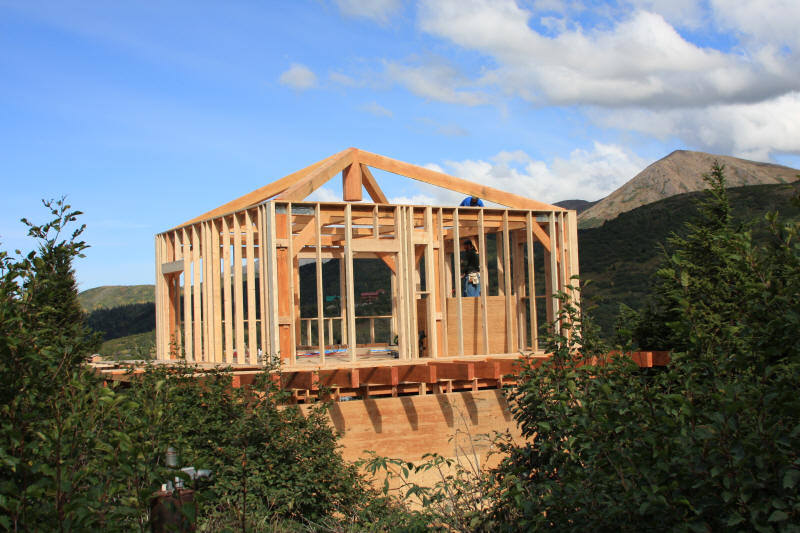
Framing the third floor.  Notice the obscene amount of Simpson strapping on the corners...sorta glad it's there now that I've felt some 80+mph winds.

More help arrived from Montana...A friend of mine came to lend a hand in the framing.


The third level plywood is up...the floor is down...now we just need a roof and windows.


The floors Aaron and I worked on all summer.  We distressed new wood to make it look old and then stained it with three different colors. We love the look.


Working on the deck on the third level was a bit scary at times.  The deck wraps entirely around the house on the third floor.

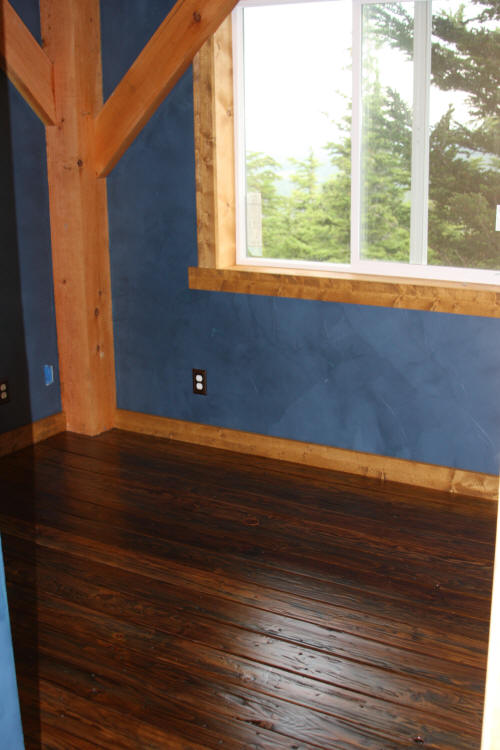
Had to do a blue deck...just a little different.


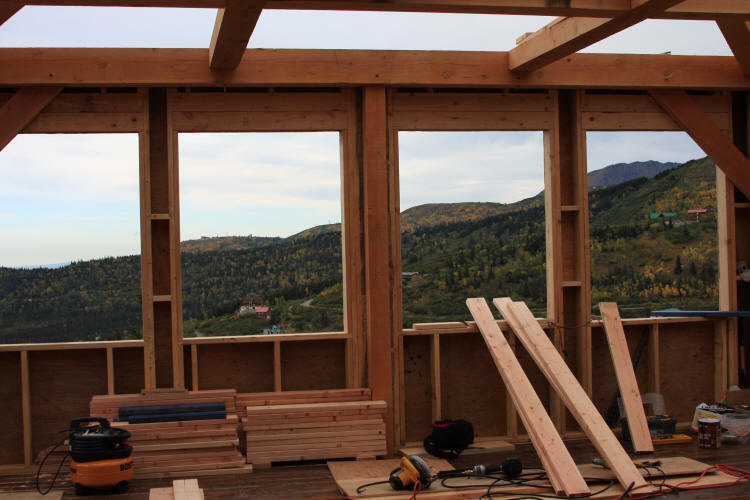
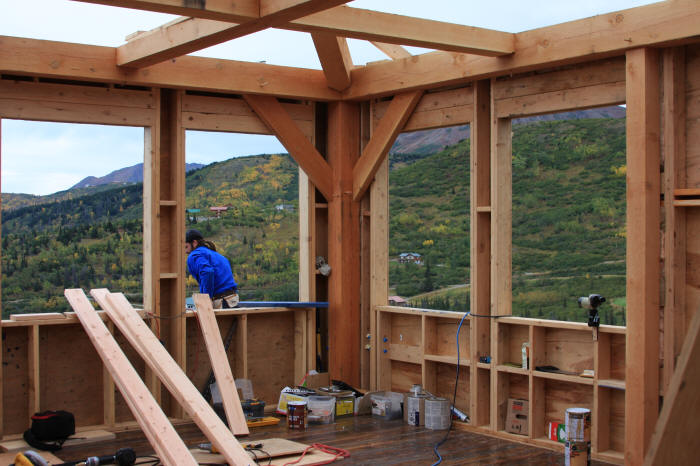
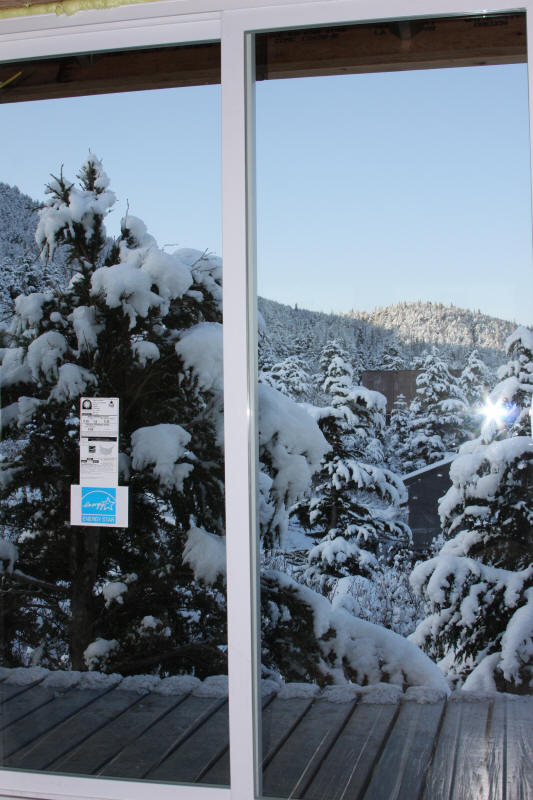
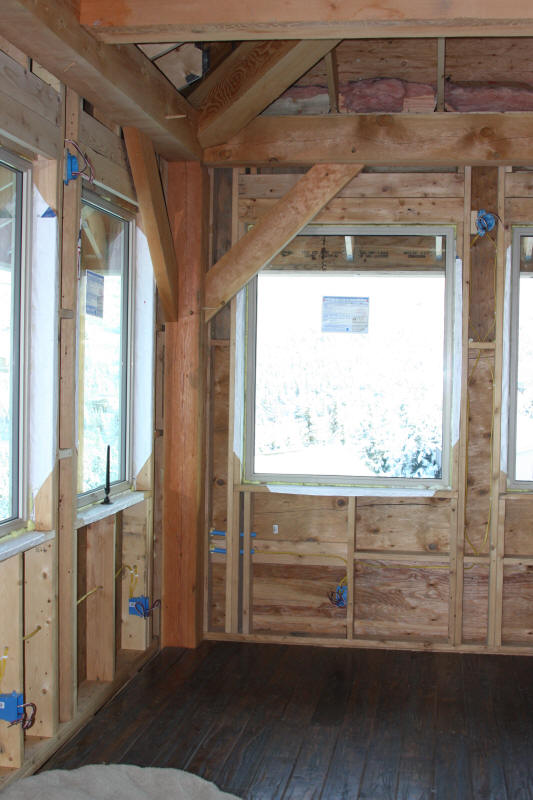
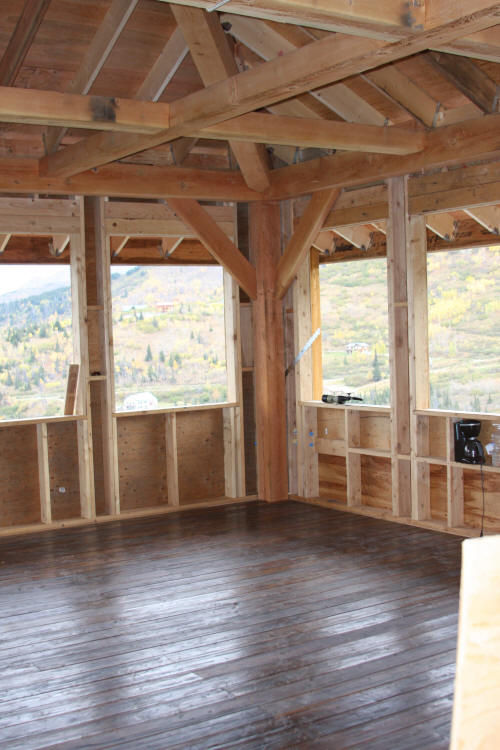
The third floor future windows.  All the windows are triple pane 4x5's.  The windows facing up valley toward the wind are triple pane with the outside glass piece 1/4 inch thick. They are rated up to 200mph winds.


The door on the third floor was an after thought. Originally we were planning on having the main entrance on the first level.

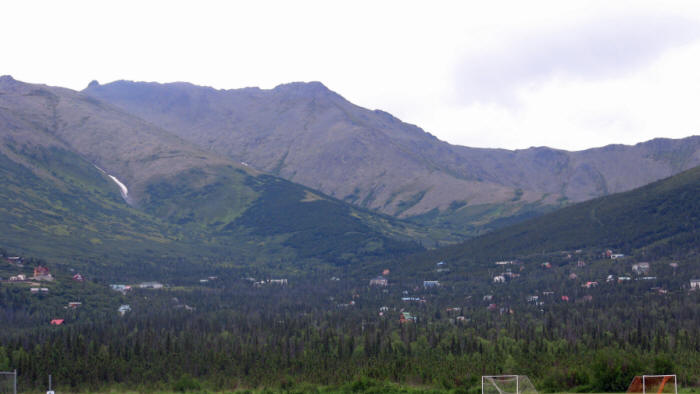
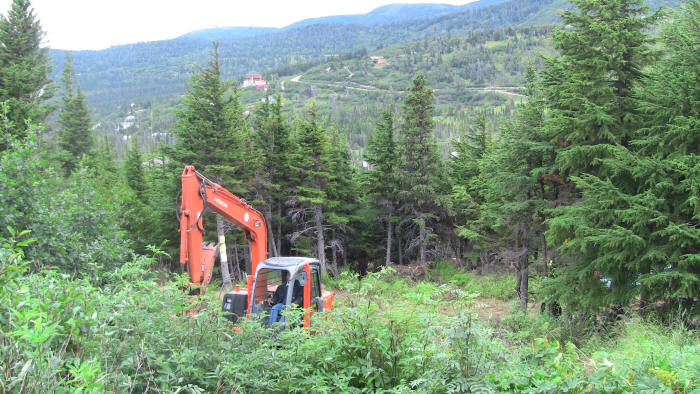
The piece of property we ended up purchasing was PERFECT. We are making a ramp from the our parking spot to the third level.

The third level is where our kitchen and living room will be.  The walkway will be awesome... just will take some engineering.
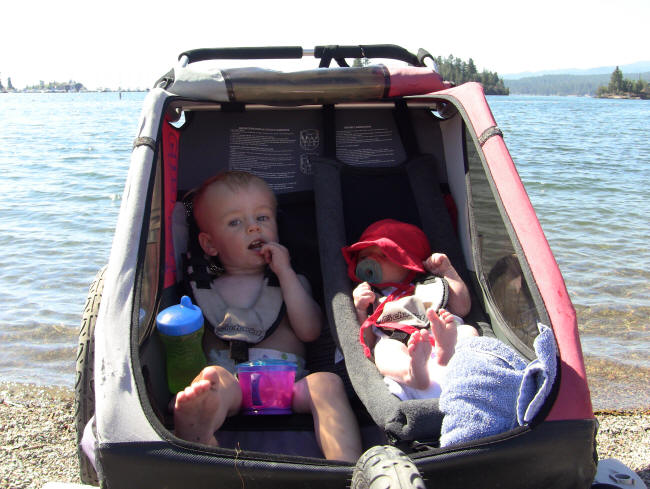


The roof starts taking shape. 
The LVLs that sat on the hips were a real joy to get up 30 feet in the air.


I can't say enough about these kinds of nights in Bear Valley.  They are so peaceful and the view just swallows you up.  Denali and Foraker stand tall over Anchorage.


As if Denali and Foraker aren't enough, we also have an amazing view of the inlet and Mt Susitna, and the mountains at the back of the valley. 

We are so spoiled.


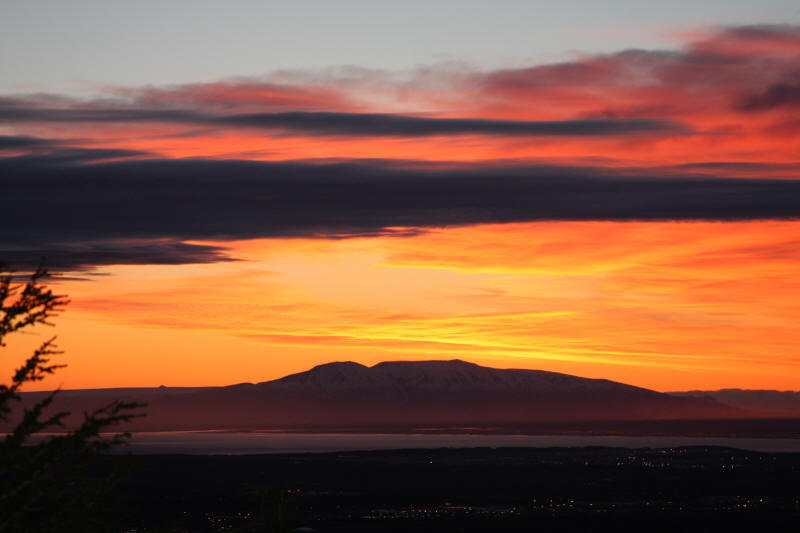
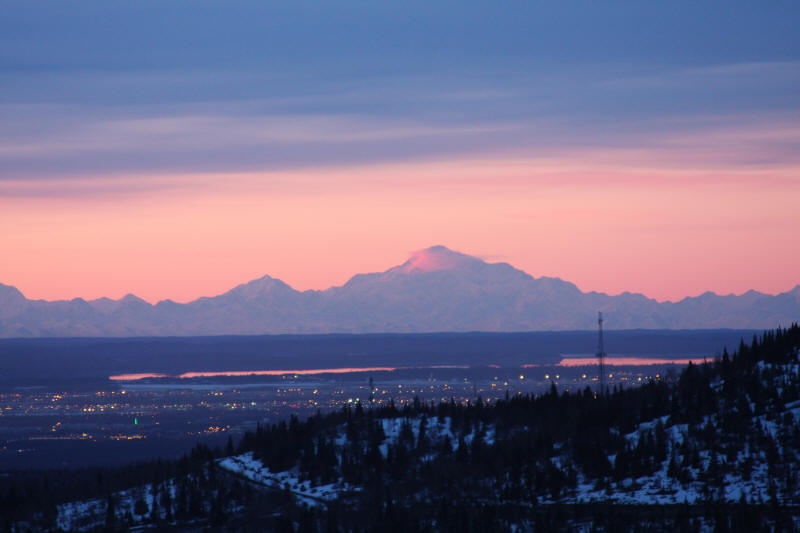
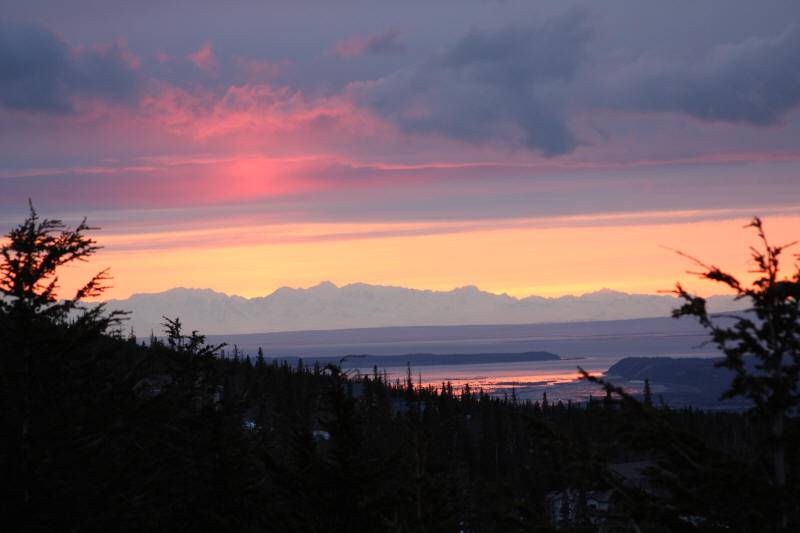
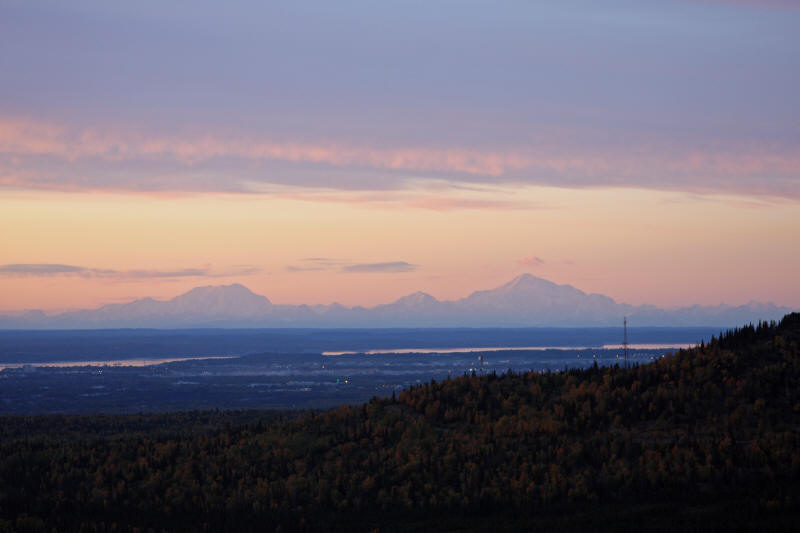
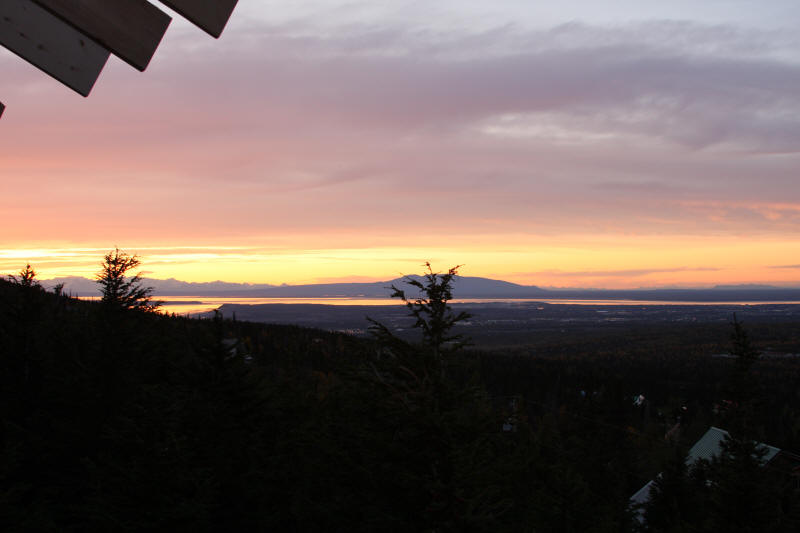
The sunset over the inlet.


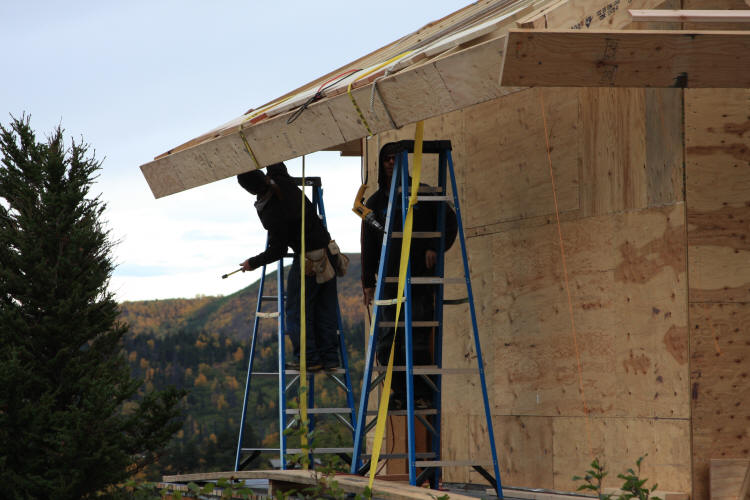
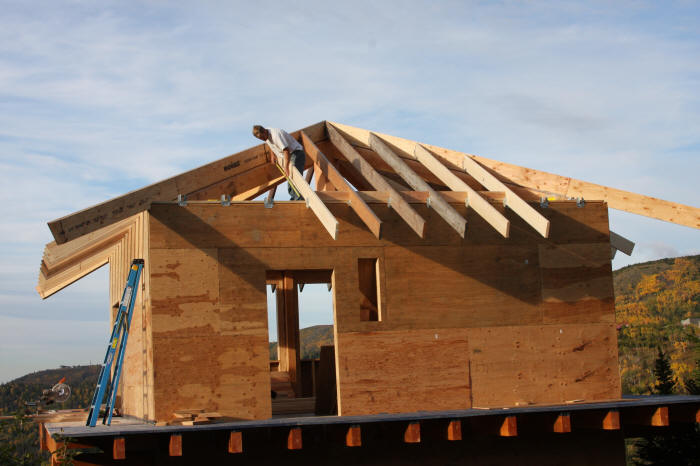
More roof action. 

We also managed to get Tyvek on the first two levels, that was fun.


Some local residents of Bear Valley, AK.


SEPTEMBER 26, 2009


The roof plywood is on and it really feels like a house now.  Still quite drafty though.  We were blessed to have a glorious fall, though it did rain some. Snow has stayed away and we are SO pleased. We just need metal on the roof, windows, doors, heat, plumbing, electricity...who am I kidding...the list goes on and on.


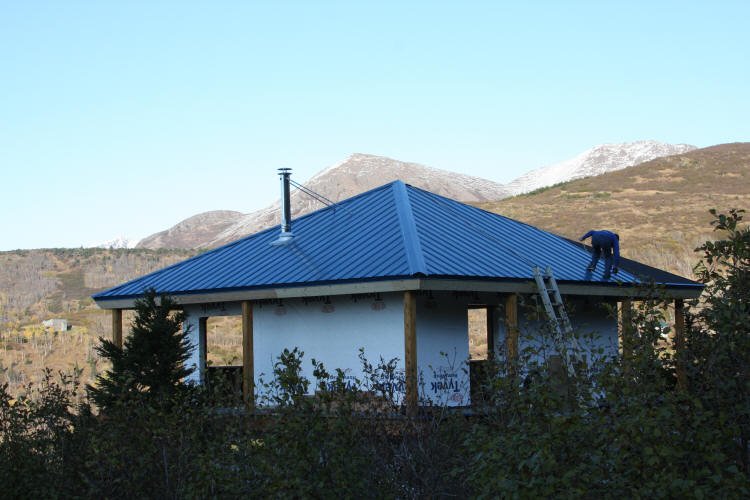
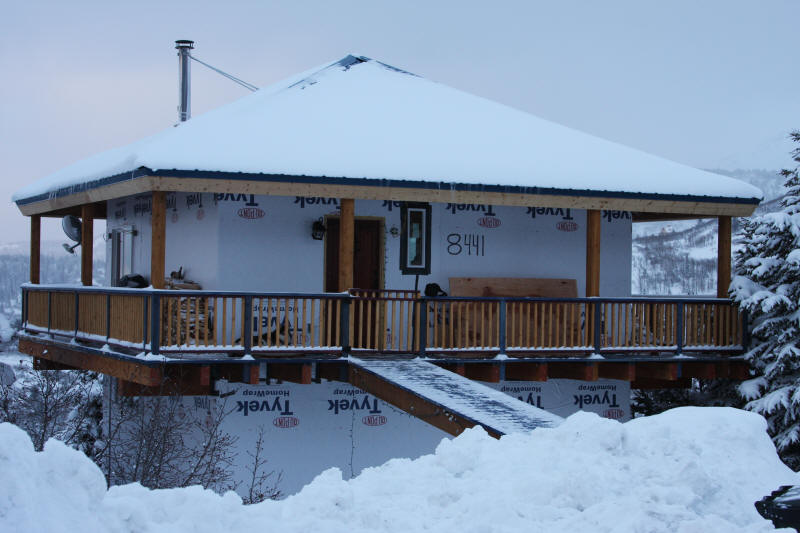
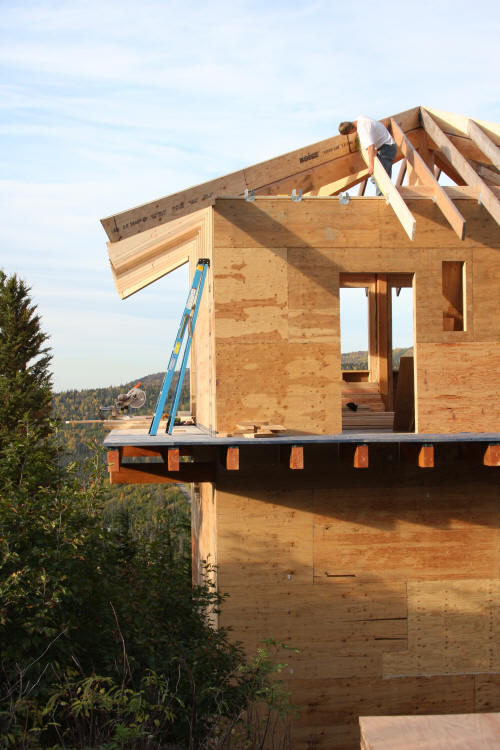
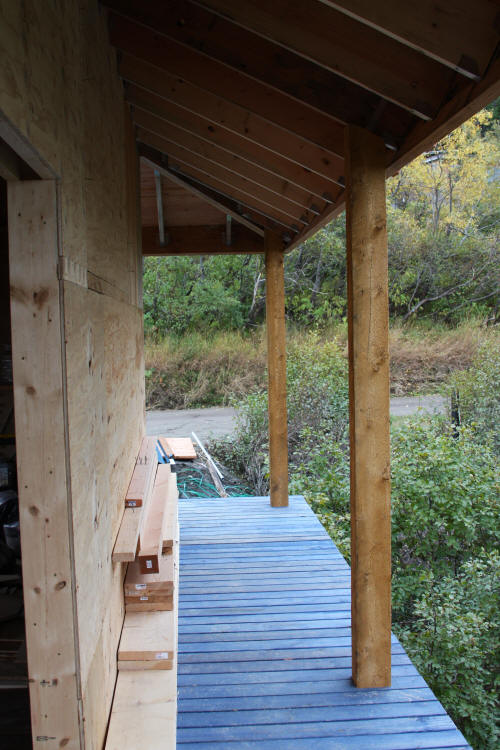
The covered porch...We have a five foot overhang.  All the reading I did on hurricane zones says keep the overhang to a minimum.  Since we are in the 125mph 3 sec wind zone that makes us pretty much qualify for a hurricane zone....Aaron insisted on the covered porch, which I love. I just hope our roof doesn't take flight.  We have overkill on hurricane clips and straps, so we'll see.


The view inside toward where the kitchen will be. The small window will be just over the kitchen sink. I'll have a fabulous view of the mountains.

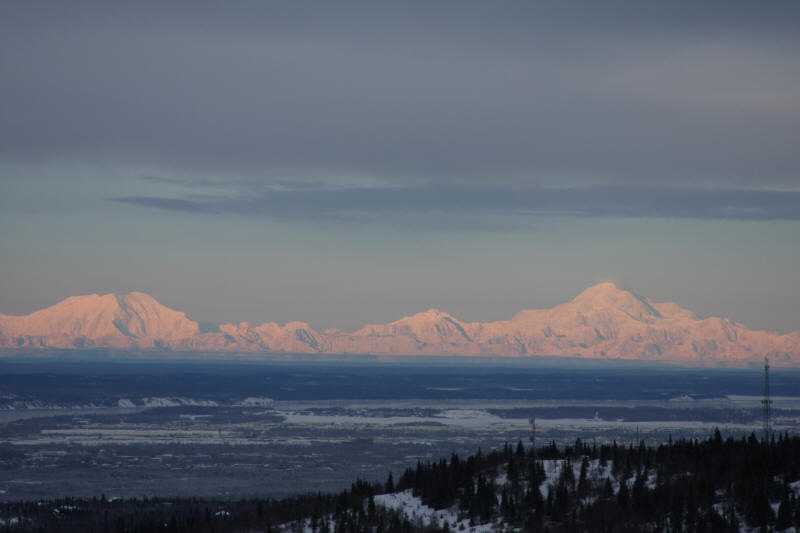
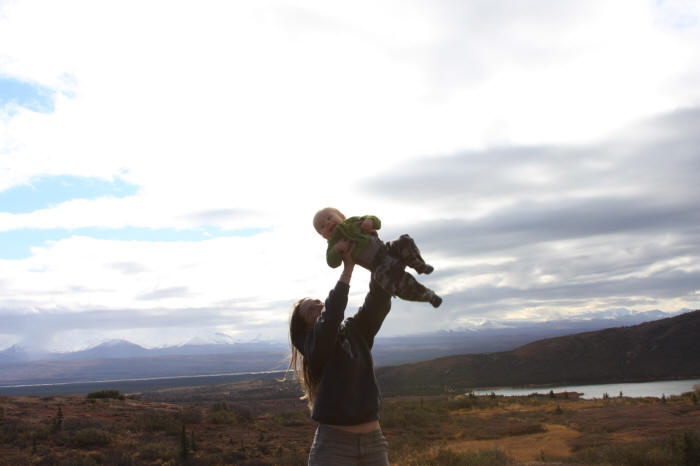
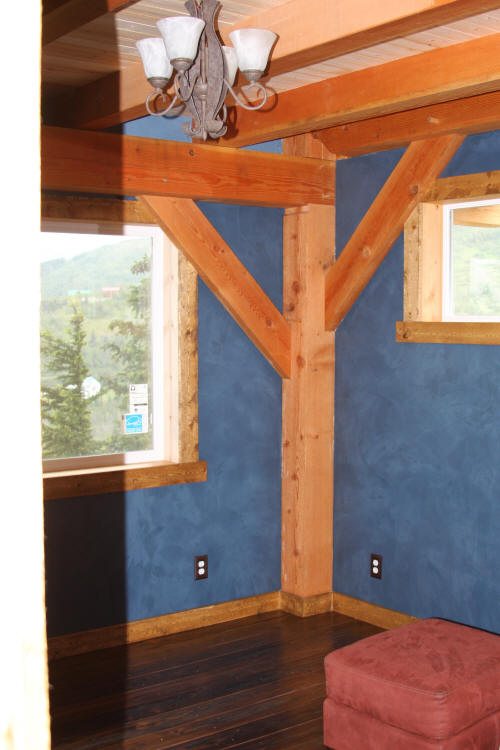
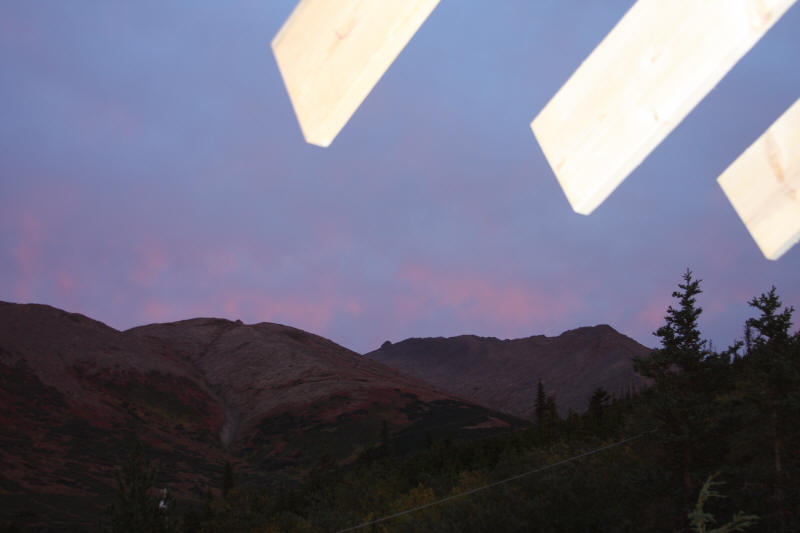
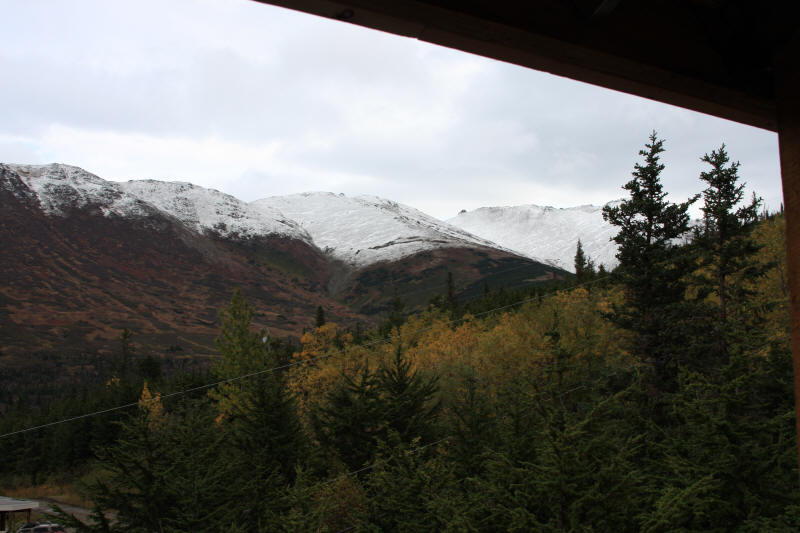
The mountain view out the window.


Finishing up the felt on the roof.  The ropes were a must crawling around up there. A harness system would have been preferable.


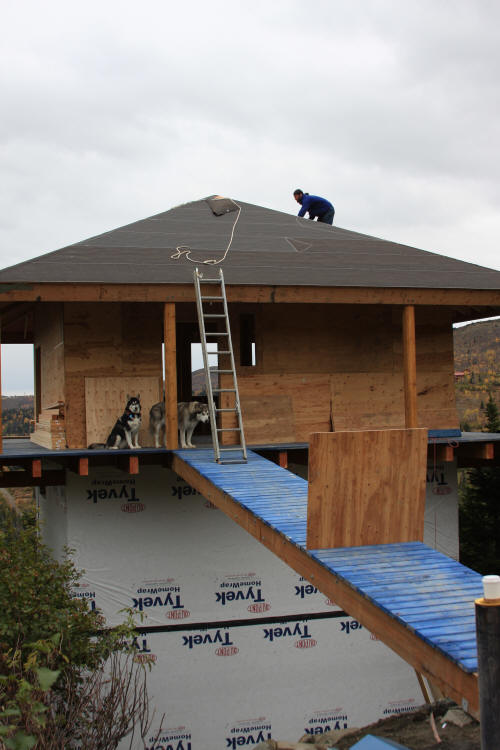
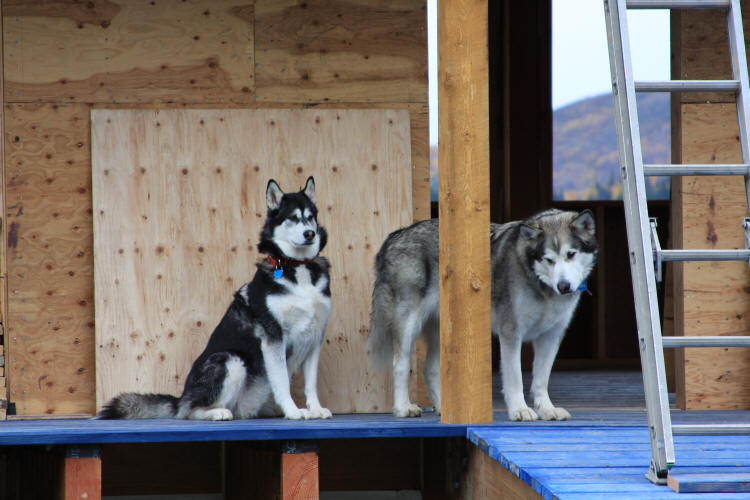
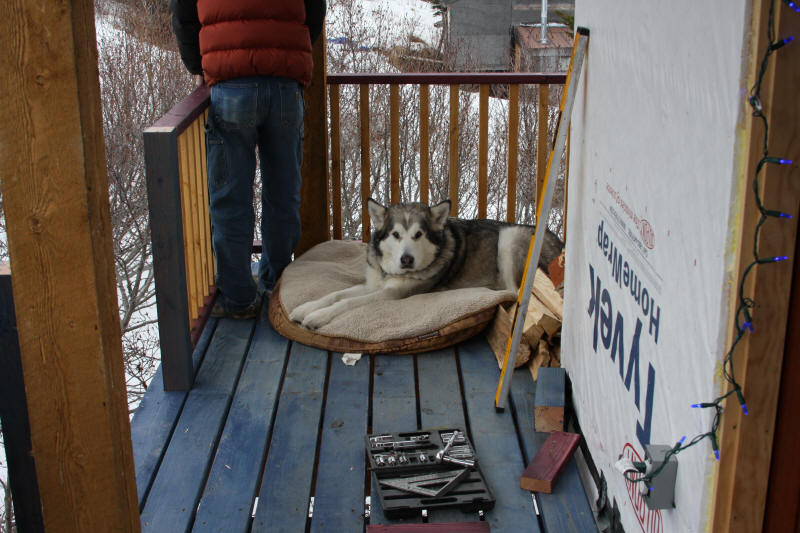
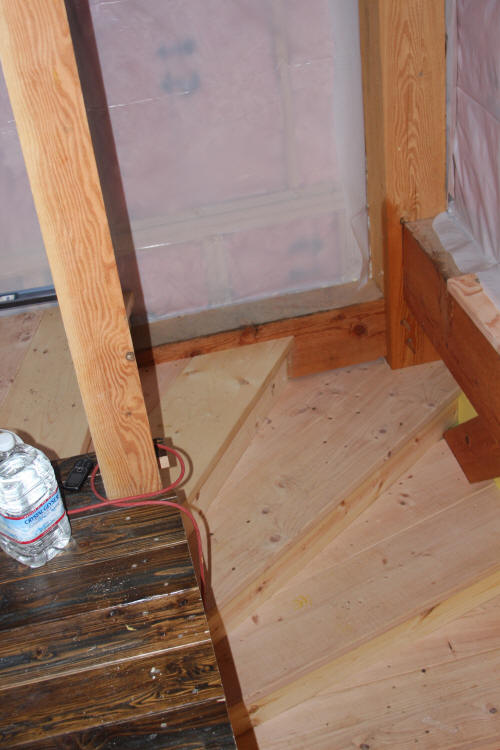
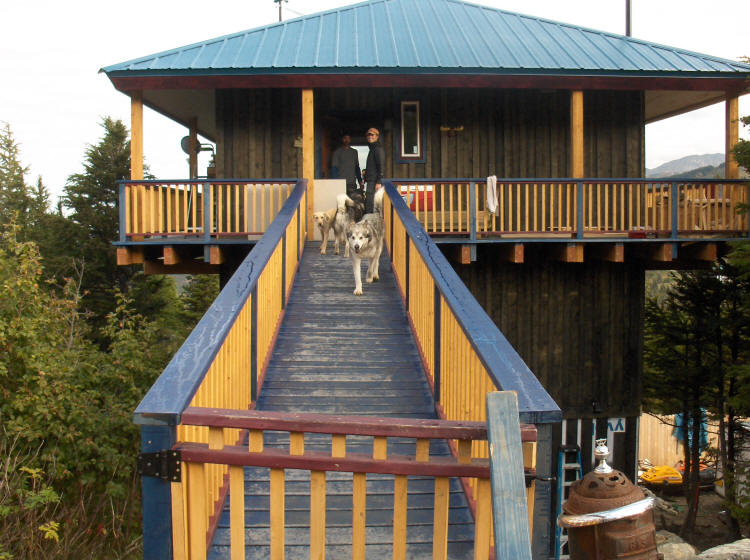
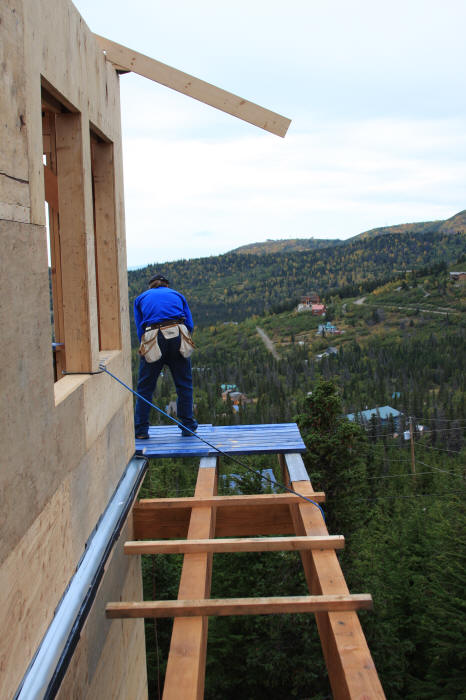
The walkway is completed...almost.  At least it beats going up two flights of ladders with materials and equipment. I'm not sure what the dogs think at this point, maybe once we have railing they'll like it more.  It's a little spooky walking across; unbelievably scary in the wind.


Darn snow came too soon....luckily the forecast assured us that the temps would warm so we could finish the roof!


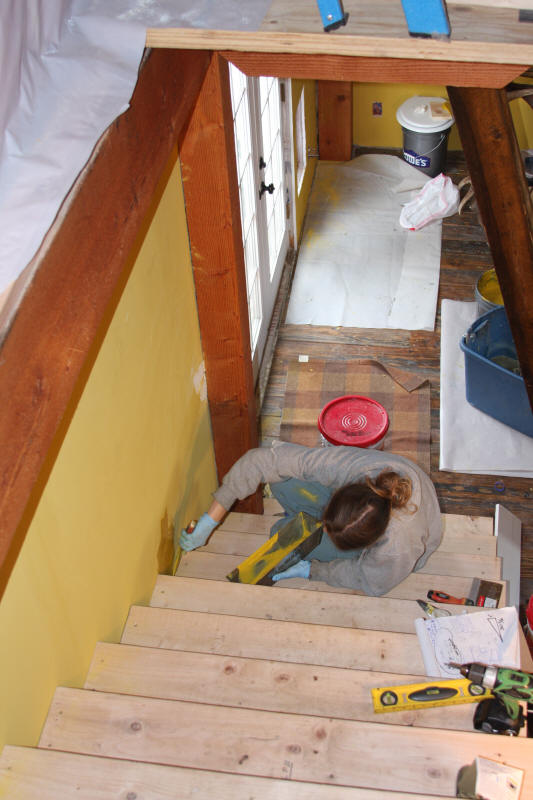
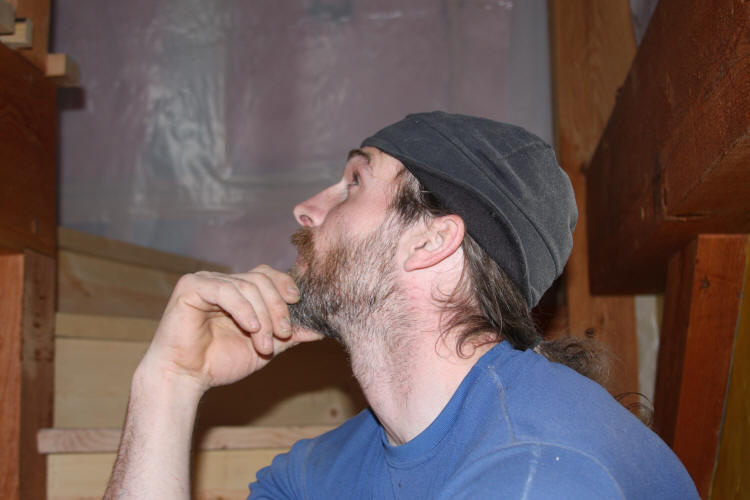
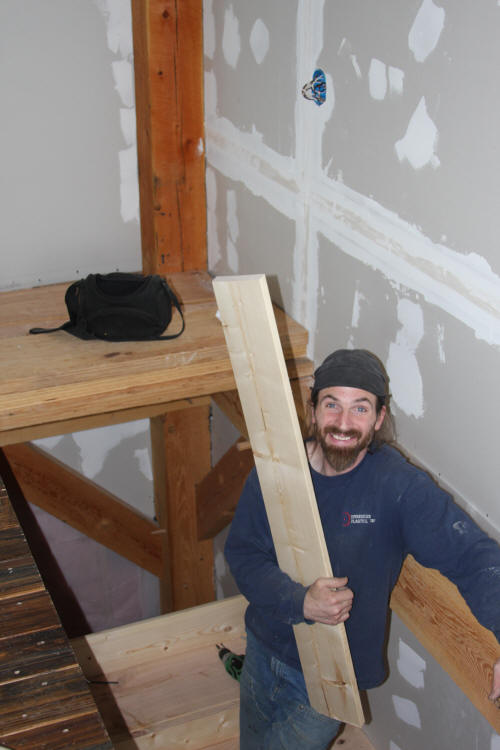
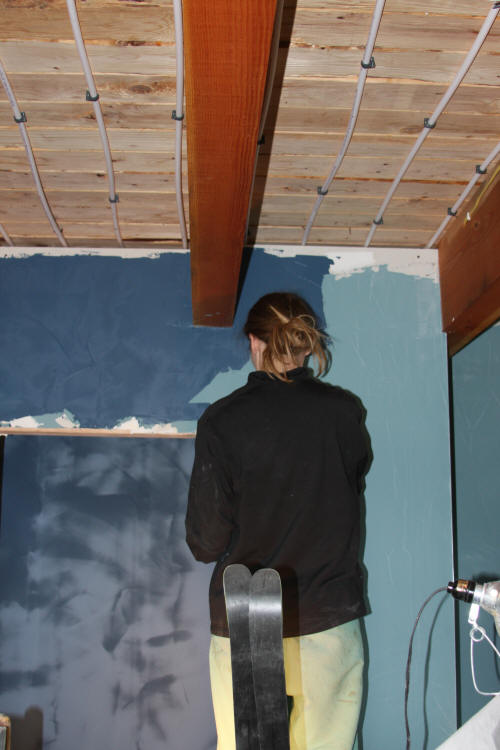
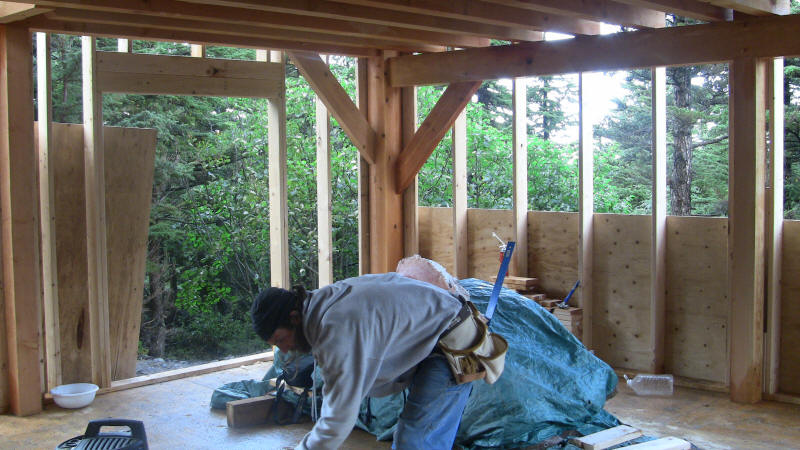
I think the only picture of me working on the house...Thank you Chad.  I'm the only one who ever takes pictures.

Aaron and I working on the roof in the chilly evening air.


The snow Aaron finishing up the roof.  We relied on ropes to keep us from falling the 35' to the ground.


Tundra enjoying the fall evening on the deck.


Two local bulls that spent the rut in our little valley. 
Interesting genes.


October  2009


Yeah to have windows, doors, and a wood stove.  We stove is the Hearthstone Homestead and we LOVE it.  None too soon either...the snow is upon us.


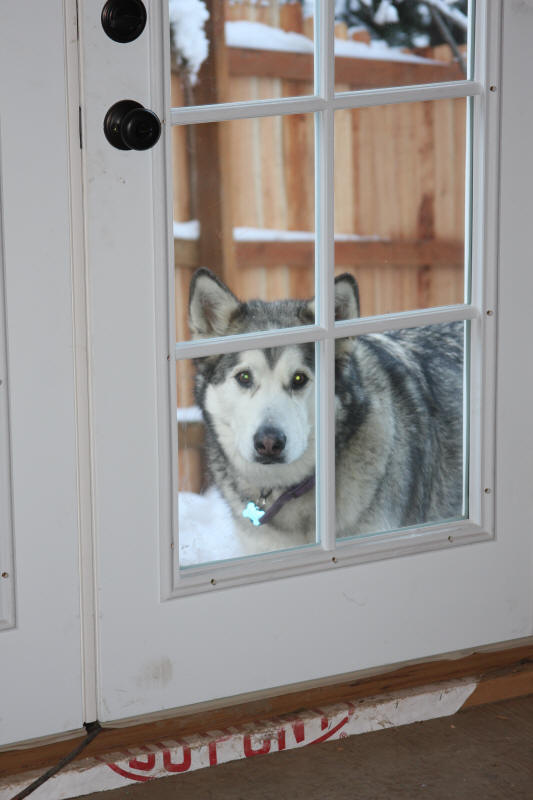
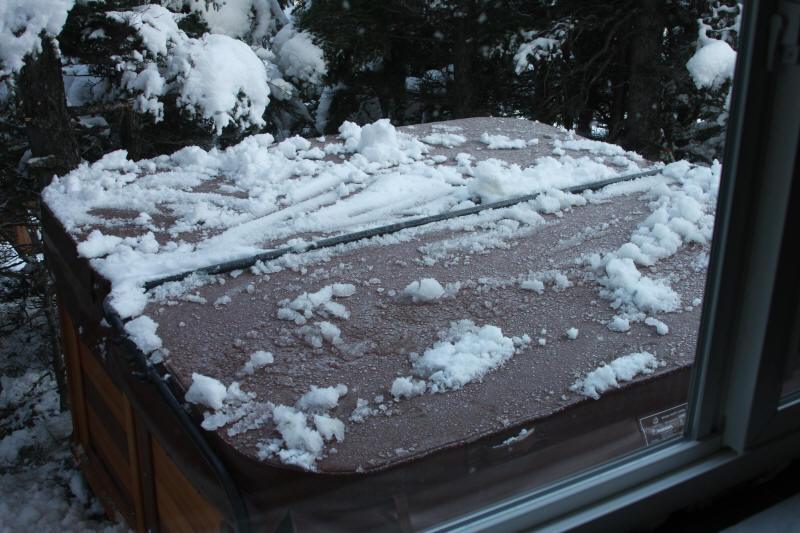
Whoo Hoo....the hot tub is finally here!!!! We bought the tub before we even bought the land...we knew if we waited until the house was done, we'd chicken out about our budget!  Still can't use the tub yet...no water or electricity!  But at least it looks good!  We did sit in it though and imagined how great it will be!

Kodi pulling his "I want to come in please" look!


October 29, 2009

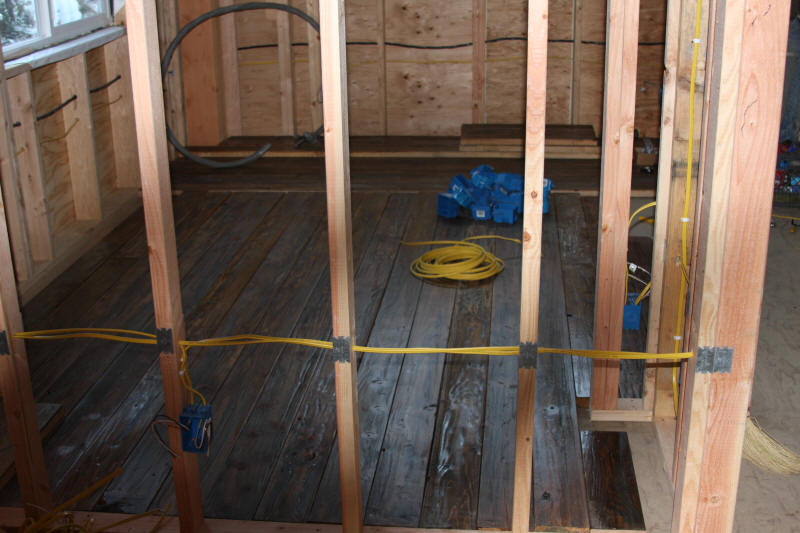
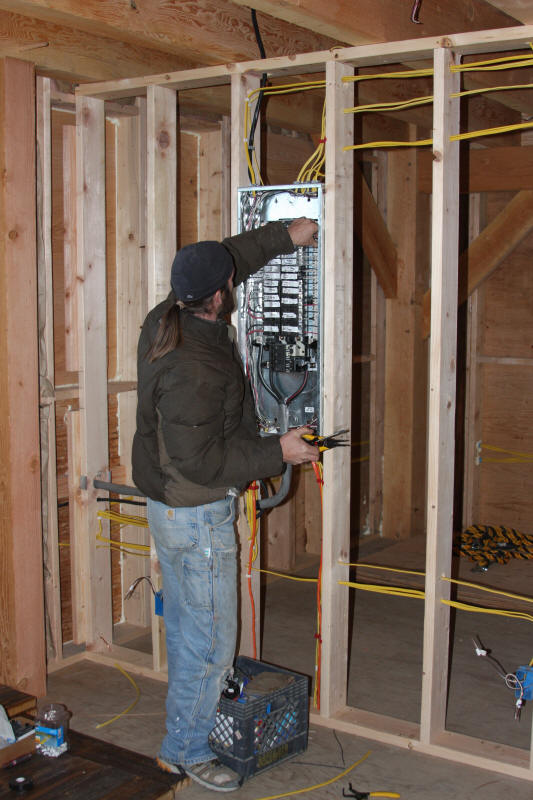
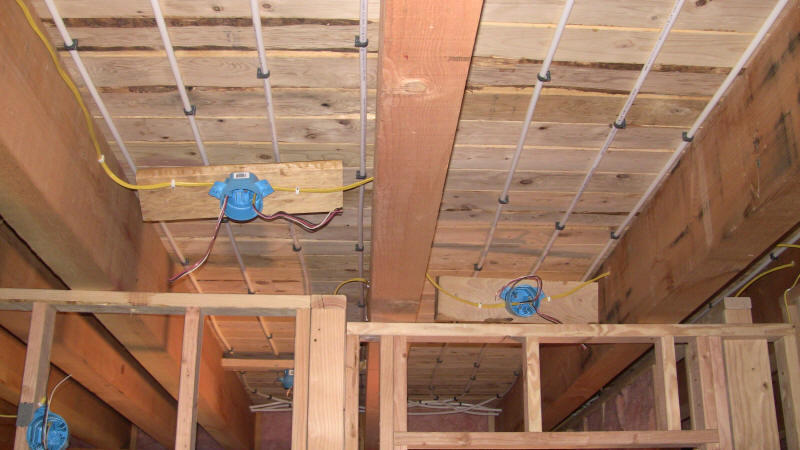
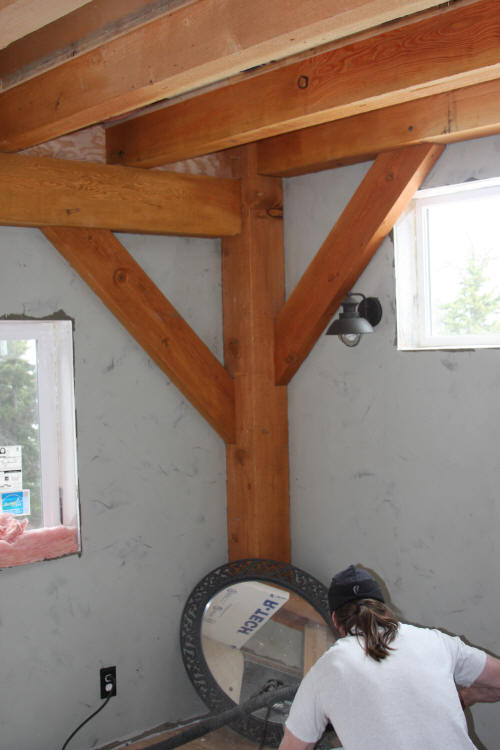
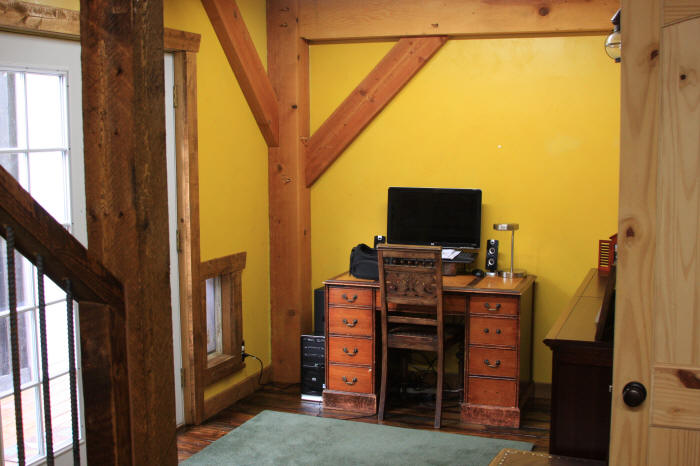
Finally done with the electrical.  DIY electrical isn't too bad.  There is so much information on the computer about running circuits; with the help of my dad and the computer, we didn't have any trouble. We did have a local friend come check our work before the inspector visited though.


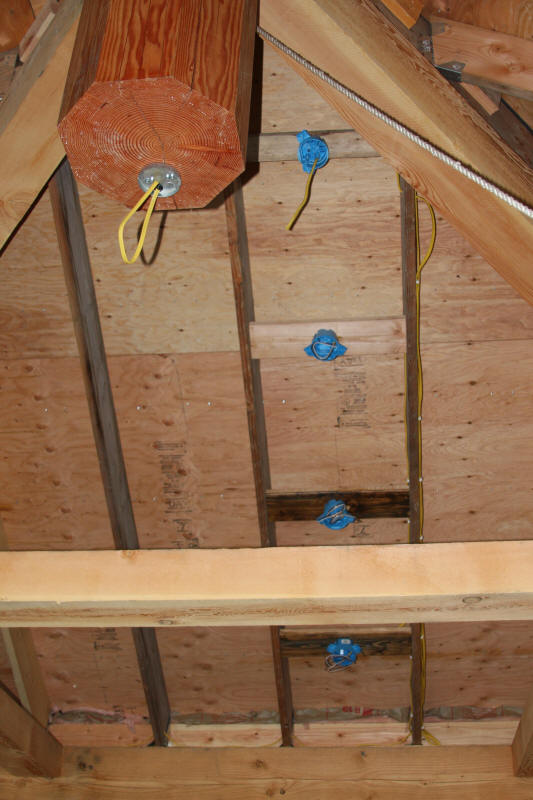
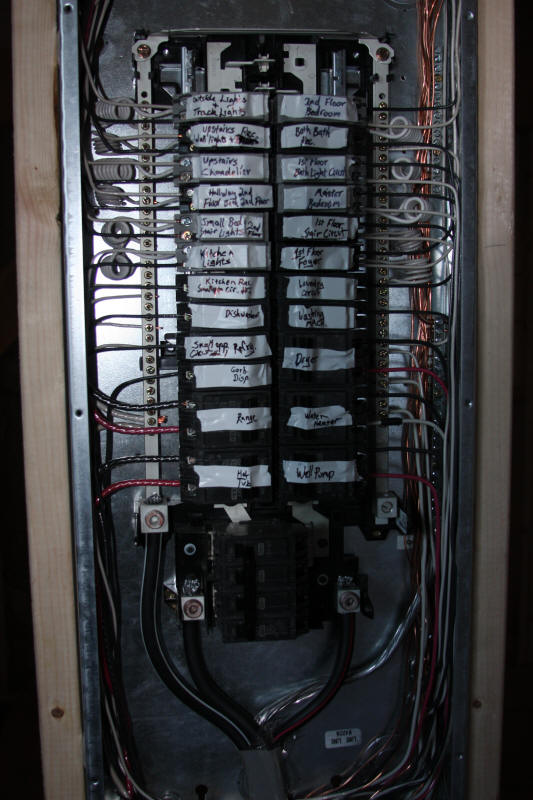
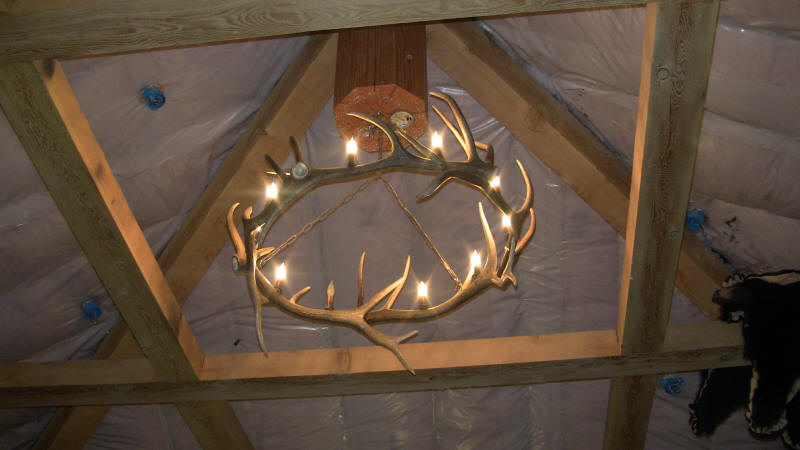
More electrical pictures.  We have lots of lights planned and have lots of electrical outlets...I'm sure we'll be kicking ourselves when it comes time to sheetrock!

You can never have too much light though...especially when the sun doesn't hit our house from November until March...


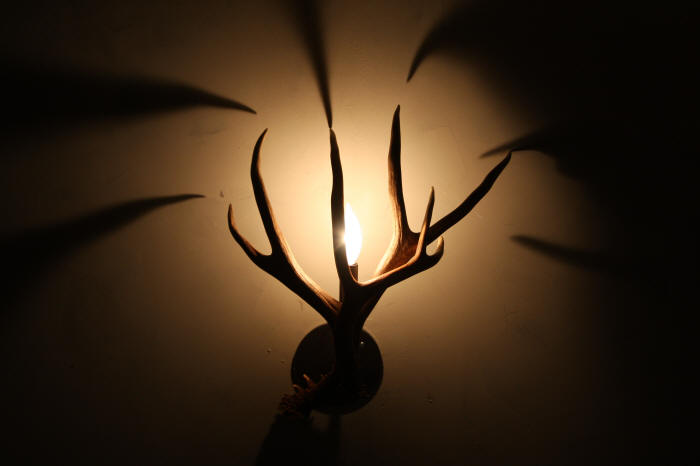
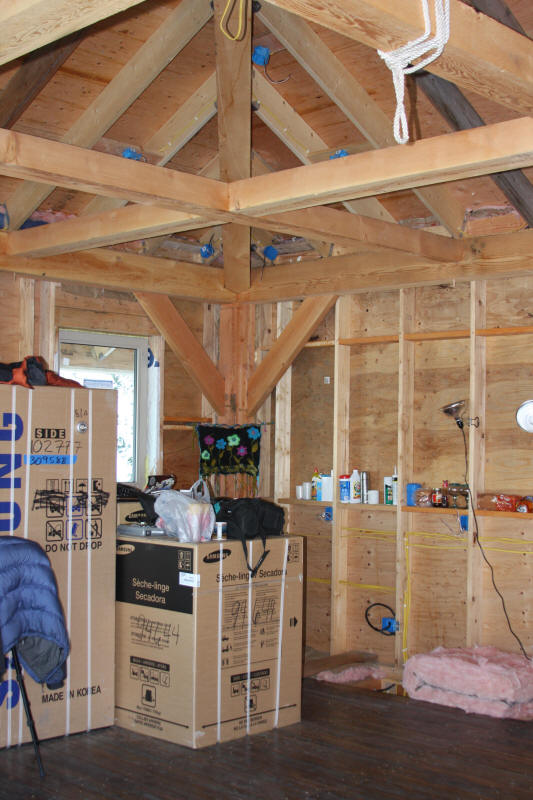
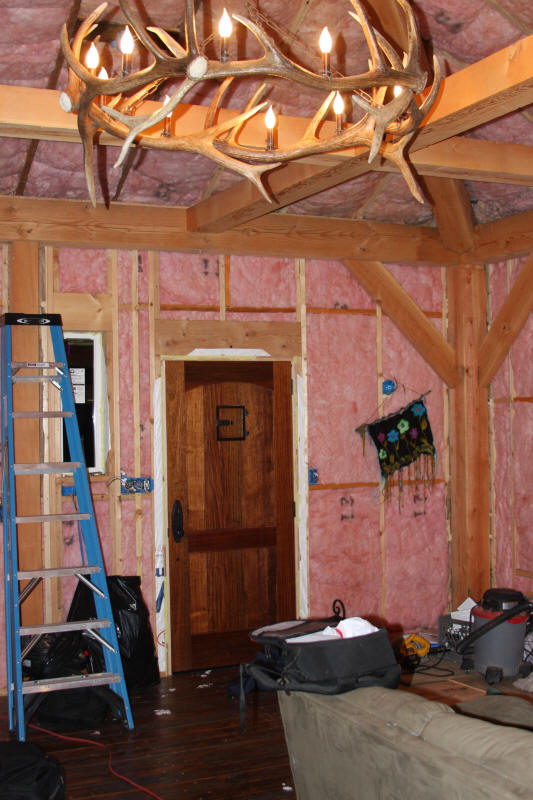
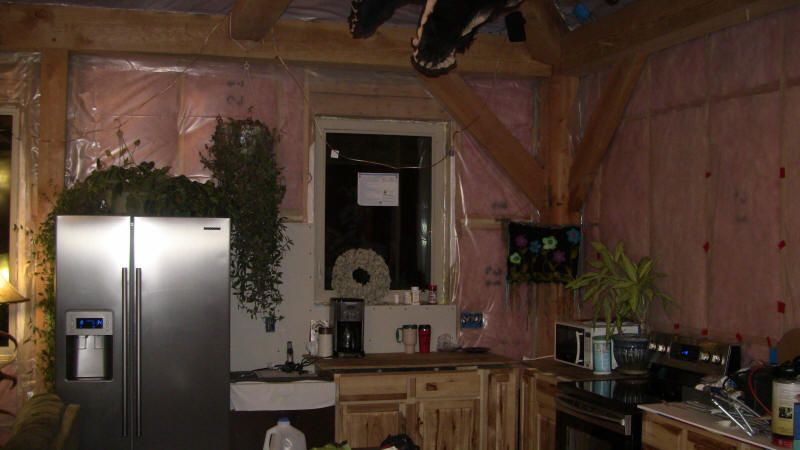
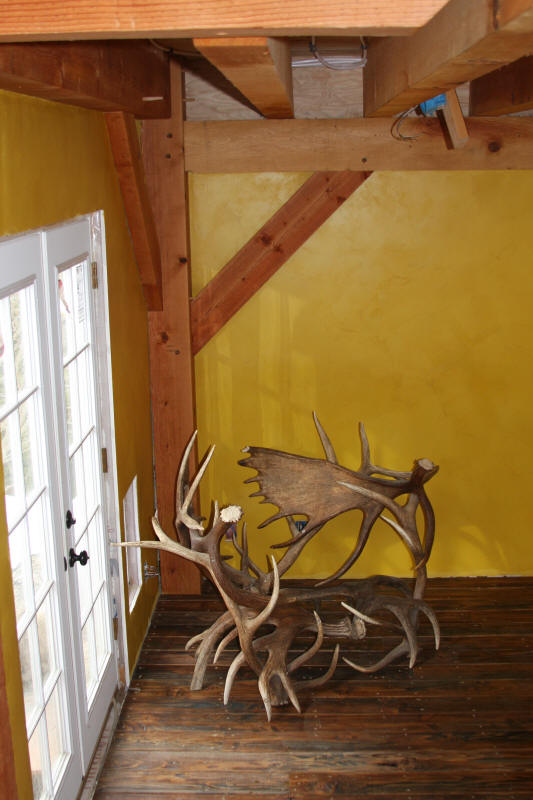
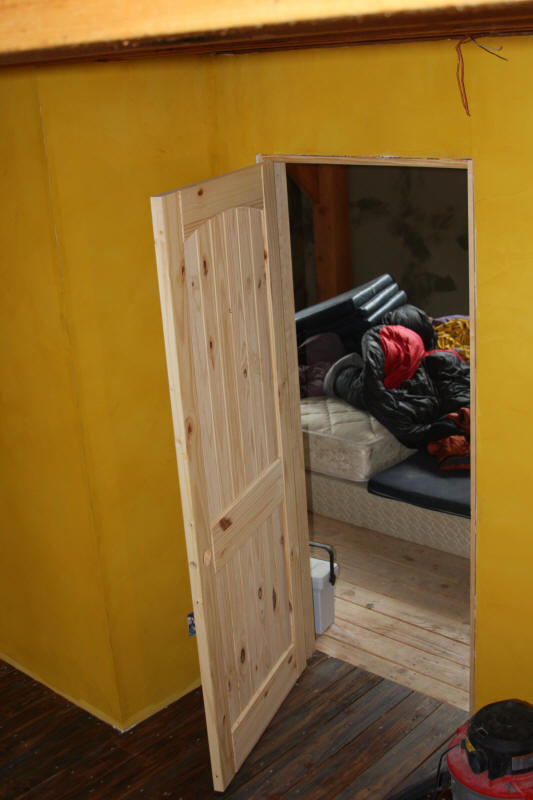
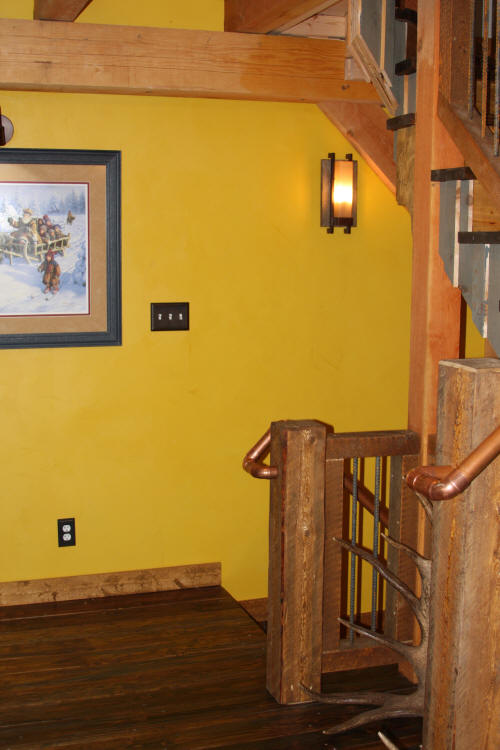
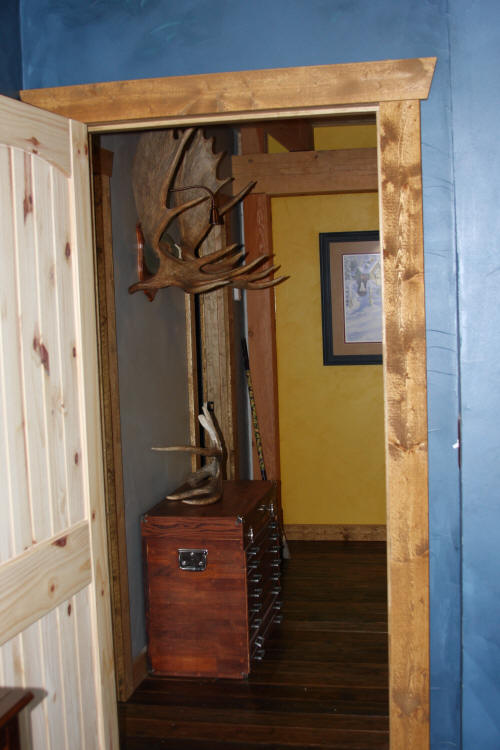
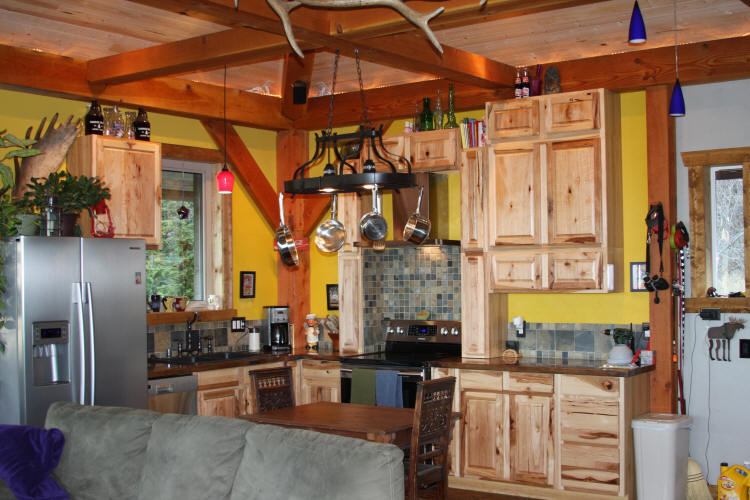
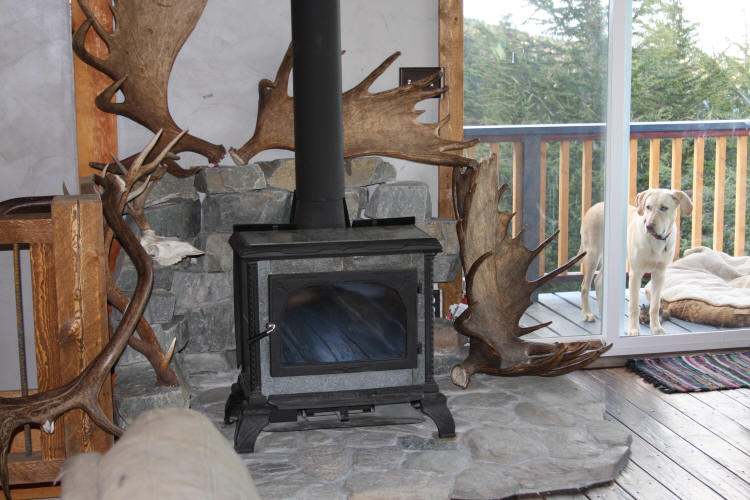
We bought our appliances about six months ago...finally had them delivered today.  Who knows when we will be able to use them...but at least we'll be ready!

The wall hanging is a house warming gift a neighbor made. I love the color it adds to all the wood!


I was so proud of Aaron...I ran the majority of the wires and figured out the circuits while he dealt with the running the larger gauge wire circuits.  He did all the wiring in the main box...I thought he did fantastic...now I just hope it works!

Up until this time we've only had a generator for our power needs. We couldn't wait to have the power company hook us up.  The first time we made a pot of coffee in silence was AMAZING.  Our generator could be the loudest generator made!


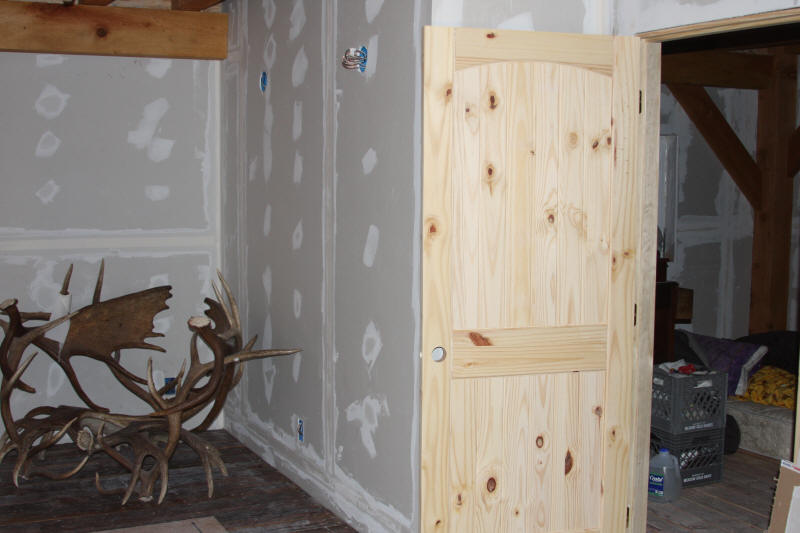
Oh yah....Lights and insulation.  It just keeps getting better. With each step in building a house I realize how much I appreciate every detail of a "home".  Have windows and doors...electricity/lights....insulation...I wonder what it'll be like to have heat and a warm toilet...?


We really wanted to use spray foam for the insulation, but $$$ limited us. 


The cold can...


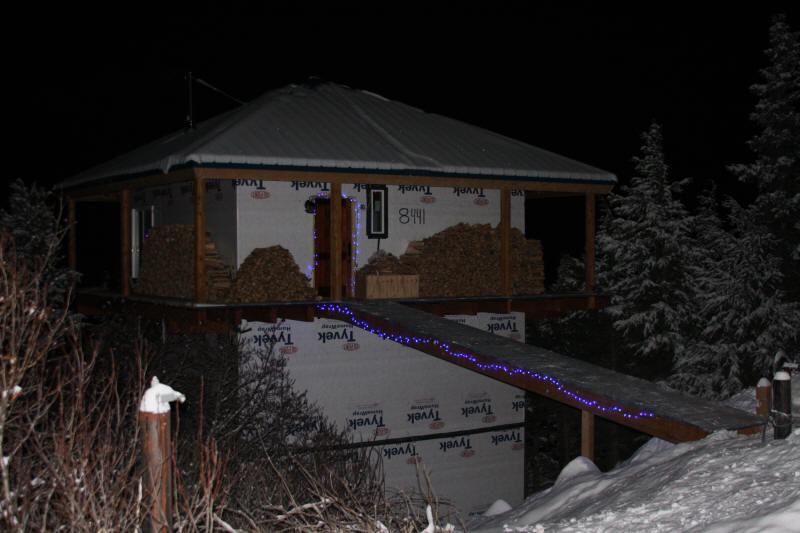
Christmas lights make the death walkway a little less spooky.

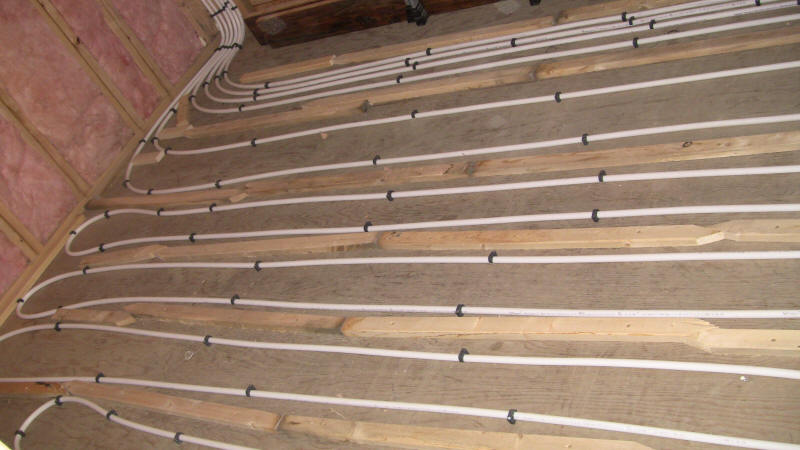
Yeah! Electricity done...now for some sort of heat on the bottom two floors of the house.

So we passed our electrical inspection and framing inspection! Yeah! Unfortunately we learned during our inspection though, that we had to be able to heat every room to 68 degrees....our original plan was to use gas unit furnaces on the two floors, but we found out that just wouldn't work.  Next option....radiant heat.  Simple enough ( ha ha )...not when it is -5 as a high and that's the temperature on the first two floors of the house. PEX doesn't want to flex in that temperature; it just wants to kink.


This was a HUGE challenge.  If someone could have captured Aaron and I trying to unravel our first 300' role of PEX they would have died laughing...thankfully we are laughing too.

This was a major accomplishment.

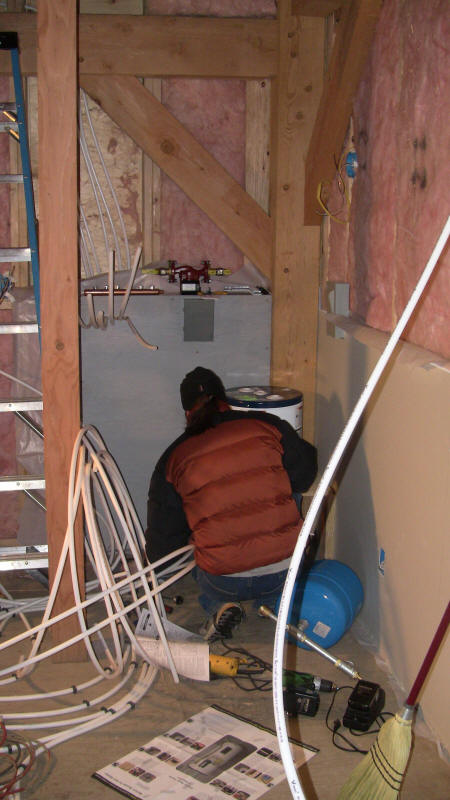
It was painful working on this system.  We wore our full winter gear to keep from freezing...and frequently went to the third floor to warm our hands.

Thankfully my dad helped bunches on this project. He installs radiant heat systems in Montana...He's been our advisor on all the projects pretty much so far.


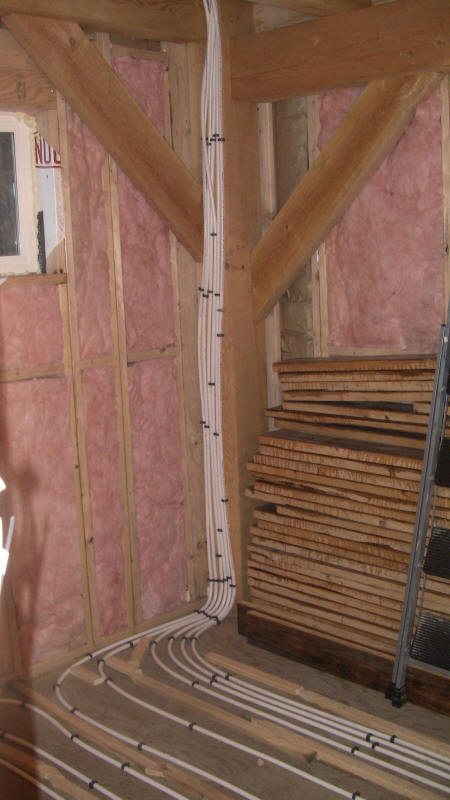
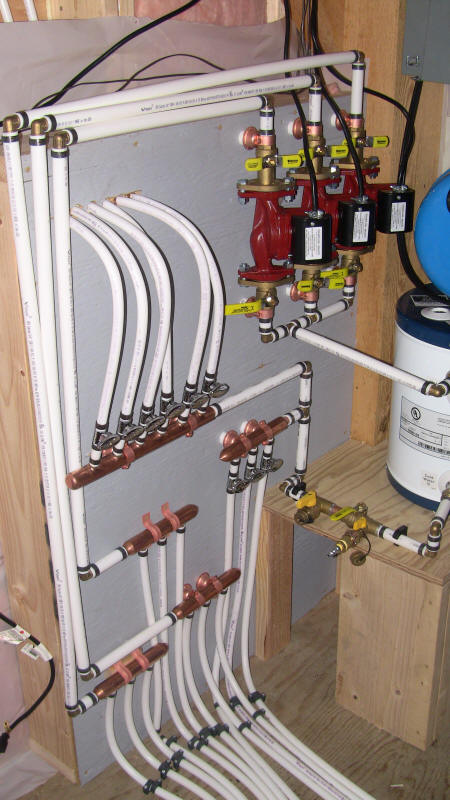
We were thrilled to have all the PEX run; now to start on the system. It is incredibly simple once you've done it once. Again...Dad was a huge help. 

radiant heat systemradiant heat system


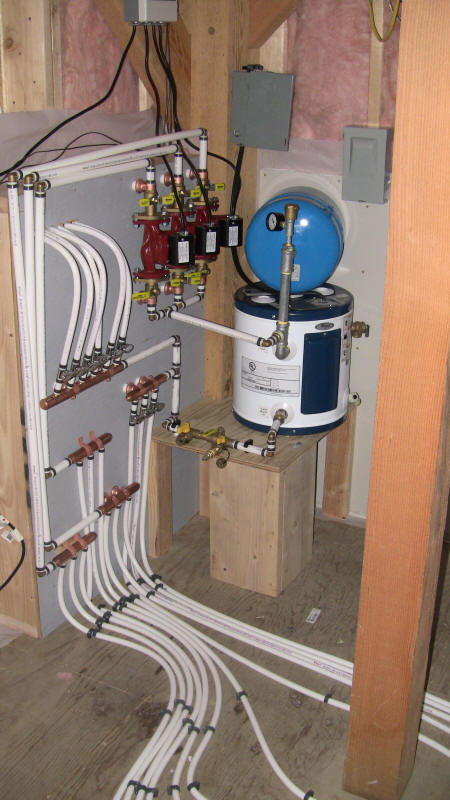
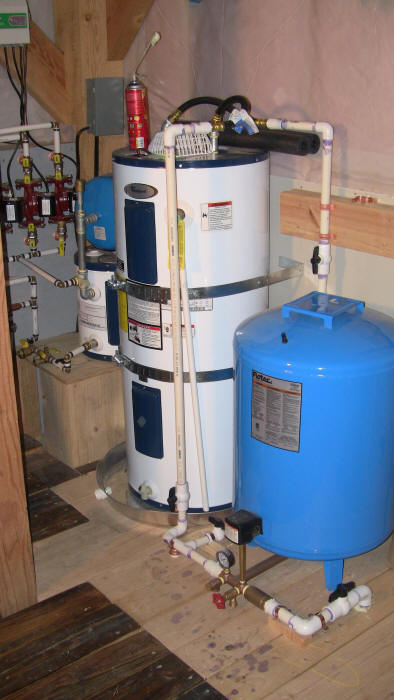
Our little radiant heat system. We used a 6 gallon electric water heater with a more powerful heating element.  The little system works like a dream. There were a few kinks...like spraying antifreeze in my face and all over the room, or the small crimp ring leak, but nothing too major. 

We were so excited the next morning when we went downstairs and didn't have to put our down coats on...a comfortable 60 degrees. 


The view never gets old...I'm sure I'll put a dozen more pictures like this up....


Our scary stain area...can't wait for railing.


Aaron working on the deck railing.  What a relief to get a barrier up to avoid losing a dog off the edge. 


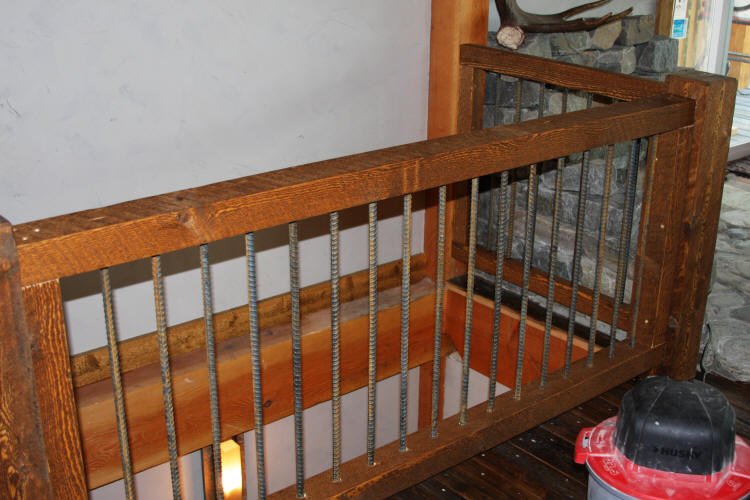
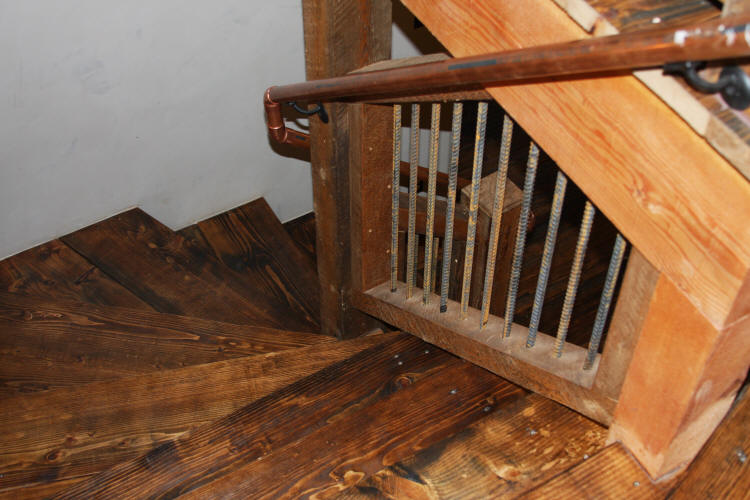
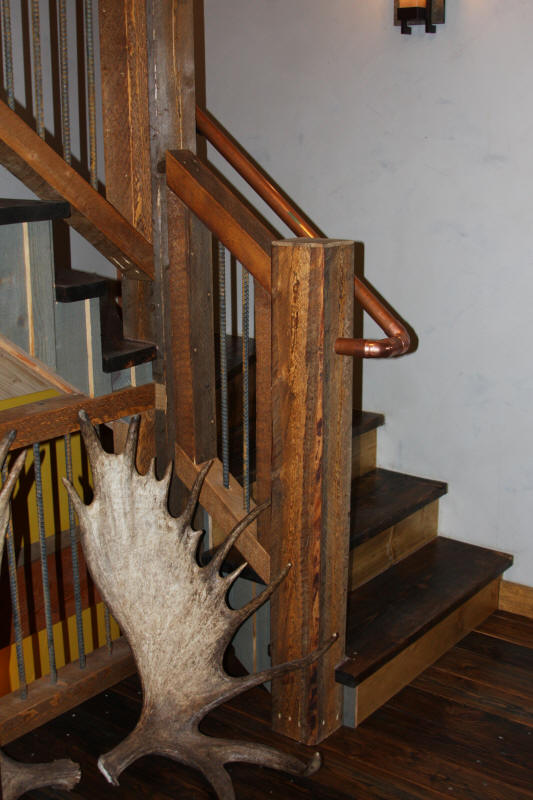
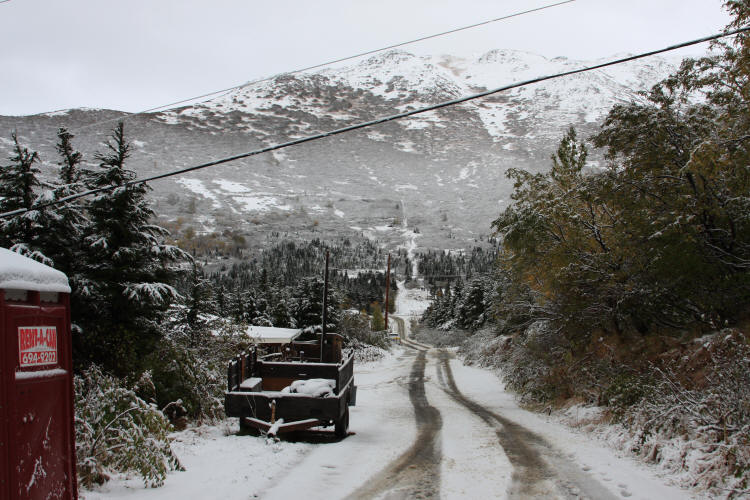
We got a mess of snow overnight; glad we did a fair chunk of the railing work before this happened.


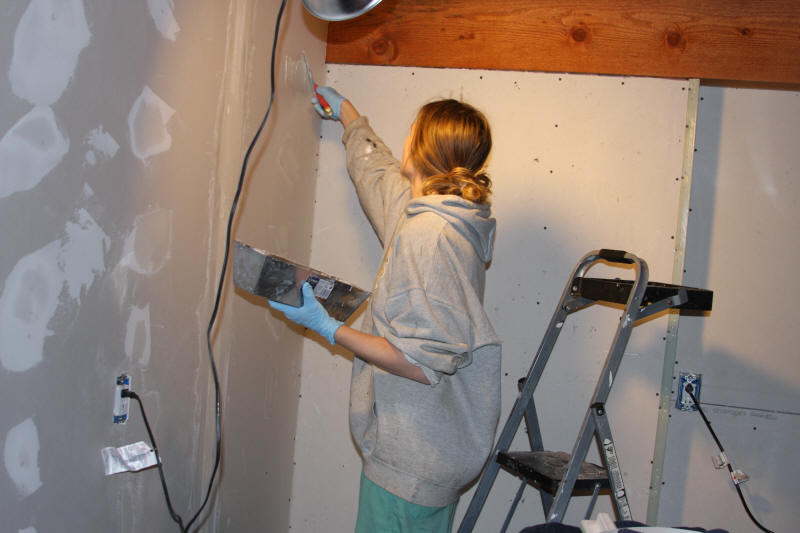
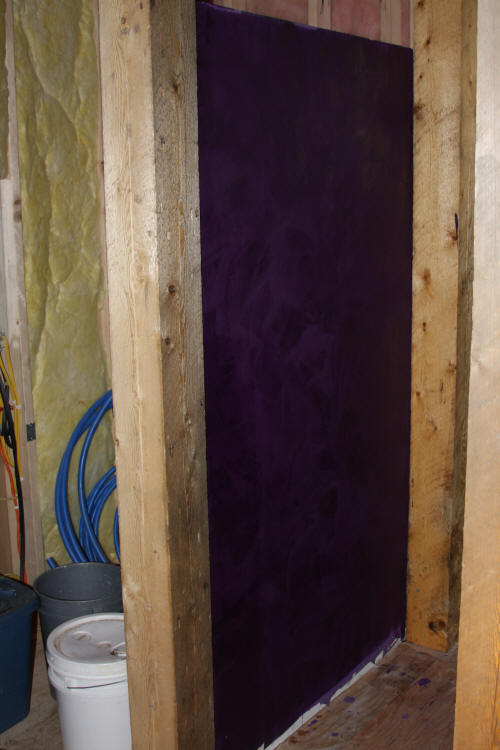
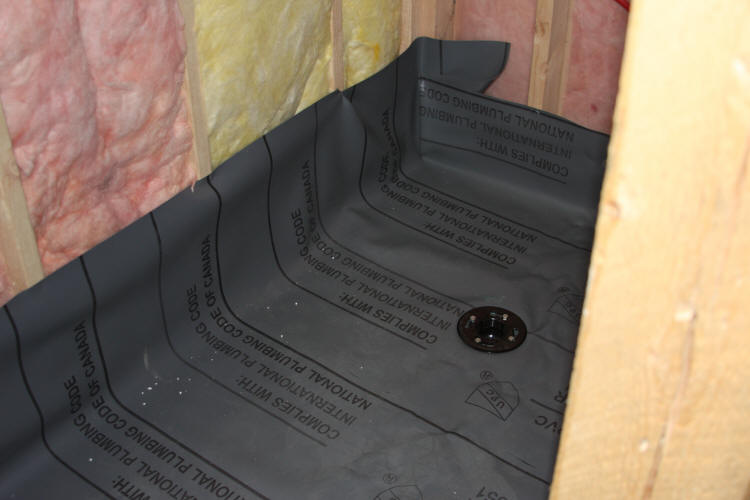
The vapor barrier could be one of the biggest headache jobs of the house. Hind sight is 20/20 and there are definitely things we could have done earlier in the project to make the VB go smoother.   Once it was done...Yah...a little more airtight!


Still living with pink walls!


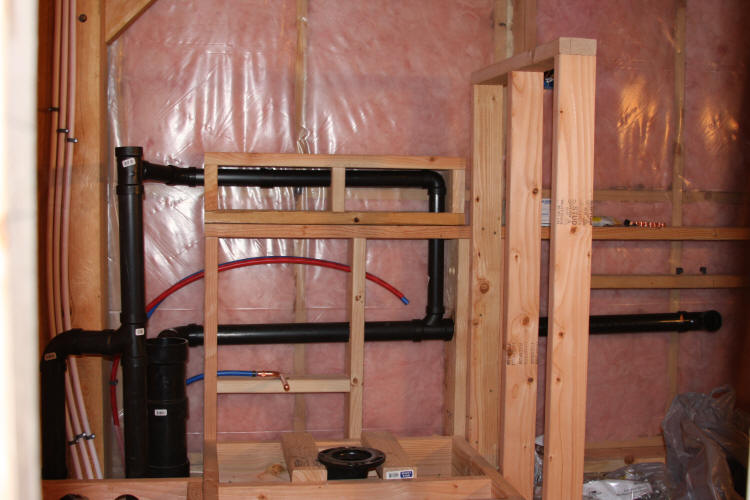
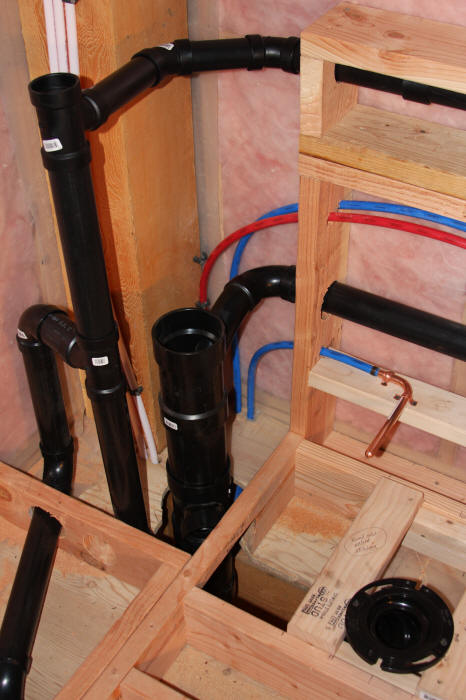
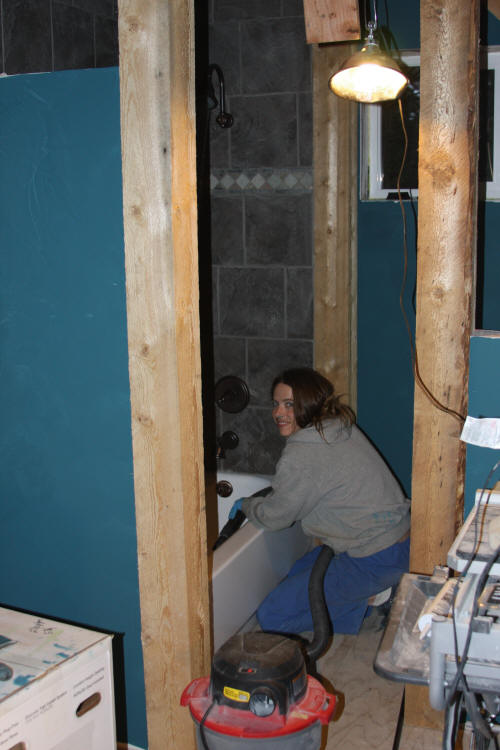
Plumbing time...

Say bye bye to the cold and tippy outhouse! AND the honey bucket.. :)


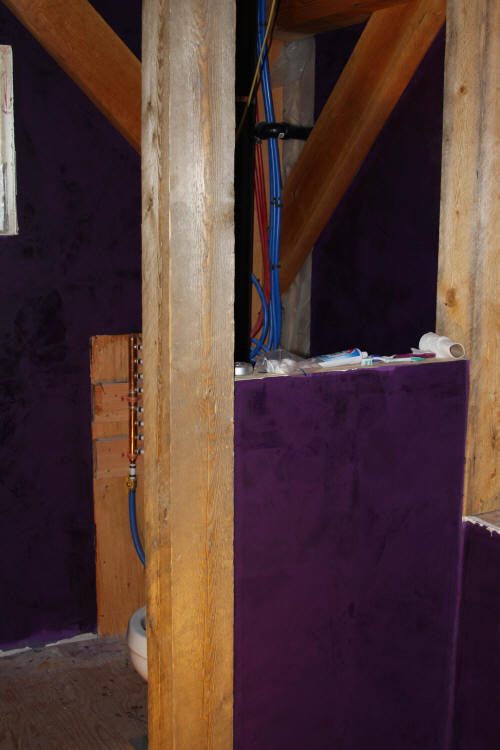
This was another learning challenge. Water lines aren't so tough, but figuring out which pip piece is allowed where was head scratching.  We did have a local plumber come check out our job to make sure it would pass. San-Tee...blah blah blah.  It was actually a lot of fun putting the puzzle together. 


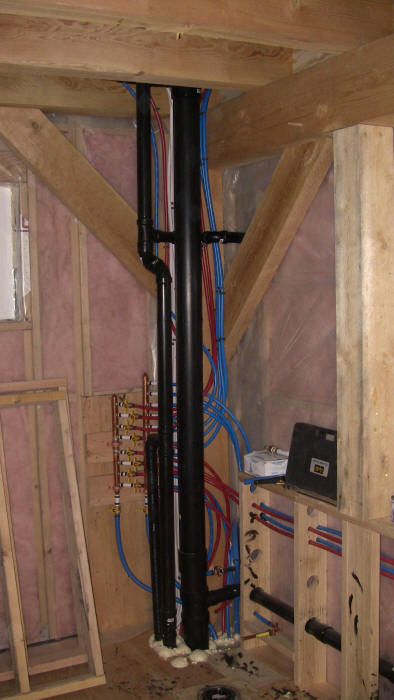
We decided to use a manifold with home runs to each fixture. 
Now we just have to pass the inspection.
 
We passed the inspection...Yeah!  Aaron and I sat in front of our toilet and flushed it probably five times, enjoying the fact we finally had a toilet!


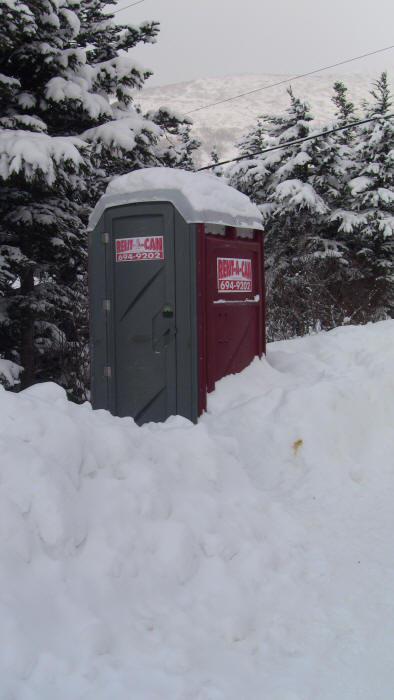
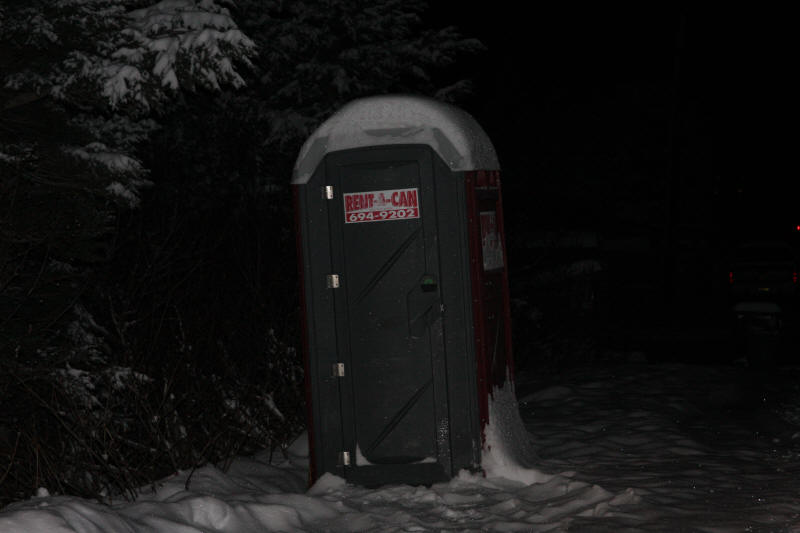
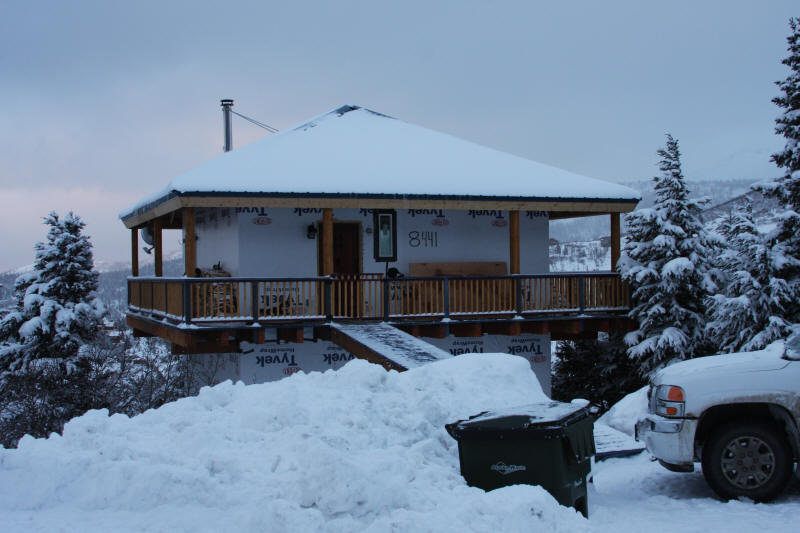
Rent-A-Can is great, but when it blows over multiple times in the wind...not so great.
It was pretty much freezing! 


Every step is SO exciting! At least it starts out that way.  HARD WALLS>>>>Yeah!  Even if they are splotchy white.  At this point in time, anything is better than pink with plastic.


Sheetrock was a pain in the _____ for more reasons that I can mention.   Mudding and taping was a drag after one day! I admire guys that do this part for a living.


Small den area.  The huge antler chair frame made working in the area dangerous...


Love the look of white walls.  Our walls will, however, not be white.  Not even one.

Our small hole in the floor to get from the third to second floor.  We've been using ladders to get from level to level now for at least six months....I'm dreaming of stairs.


Stairs...a must to sheetrock the second floor and a blessing to finally be rid of at least one ladder.  The stairs were a huge challenge for Aaron.  The first to second floor weren't nearly as hard as the second to third floor. 


Yellow walls...I like them.  Never was a fan of yellow on walls, but I love these walls. The contrast of the beams with the walls is great.  I did venetian plaster on all the walls. Hand troweling takes forever.


Yellow...yum.

Still have to stain the floors in the bedroom; the dark wood looks great against the yellow walls.  Oh...and a door.  I think we are going to do a two tone stain on the doors....but that is a project for WAY down the road.


The stairs from the first to second floor. We will eventually distress them and stain them like our other floor boards. 


Can't wait to use our washer and dryer.  Haven't quite figured out how to organize this space yet.


I LOVE these pictures. I'm sure I could have hundreds that would look like this.  The moments of pondering and frustration.  Aaron is amazing...I really can't believe how handy he is.  I help on all projects, but he's the brains behind the construction.  It's a lot of weight on his shoulders.


The difficult job of building the stairs from the second to third level.  In our original sketch we had given the timber framer we had a different stair layout.  When we got his blueprints of the floor plans we noticed the stairs had changed, but didn't think much of it at the time.  The problem was he hadn't drawn in the bedroom we'd planned on being on this level.  The bedroom couldn't exist the way he'd drawn the stairs...so we had to be very creative and bent the rules a little.  The space was hardly enough within the code for height and the spacing for a double winder stair case.   I'm so glad this was Aaron's project or we'd still be using our handy ladder. 


Through great frustration and struggle they came together slowly.  It's amazing he's smiling in this picture...I can't tell if it's a "Jill I'm going to kill you if you don't put that camera down" smile or a "I might go crazy before I finish this house" smile. 

There were a few headaches with this double winder. Somewhere near the fourth step he'd figured wrong on a rise, which we didn't realize until almost the last step.  That was a real joy to fix.


But alas...we have stairs from the top to the bottom....and they are BEAUTIFUL!  The dogs were amazed to see we had more than one story in our house....poor Kodi is less than thrilled with all the stairs though.


We chose a gray venetian plaster in the master bedroom since we have yellow in the laundry area and purple in the bathroom...


T&G ceiling...finally looking like a finished room. 


I wasn't kidding about the purple bathroom.  This is the master bath.  It is almost the exact same purple we used on the walls in our Montana bathroom remodel. We have lots of timber accent posts in the bathroom.


Getting ready for the mortar bed in the master walkin shower.   We did this in Montana also, but had to refresh ourselves on the steps....


This is the second floor bathroom.  We have a tub and I did the tile surround.  Got a great deal on a new tile saw on Craigslist and was working in no time. I was kinda rusty on my tiling skills, but quickly remembered my old tricks. 

NO that is not the color of the bathroom...It WAS the color, but we decided after we'd done the finish coat, that we didn't like it, so I redid the walls. 


We found rocks that we liked near our cabin and made a custom vanity base to fit the burl top we used.  Masonry is fun, almost like doing a puzzle.


Our vanity burl top.  We used a curly maple burl and filled a number of the voids with select stones we've collected from our cabin.  We poured an acrylic finish over the top.  It's bomb proof.  The sink is hammered copper and mounts under the burl.


I tiled the floor in slate with a wacky pattern that I love. We used posts to surround the tub/shower area and to frame a privacy wall by the toilet.  The framed in area in the corner is where all our plumbing pipes and water lines run.

The blue walls worked much better than the green we had initially.


Hand texturing one of the second floor bedrooms. 

Blue it is.


You guessed it. Rocks from the cabin.  Took a few truck loads to get enough for the hearth pad.  The stone base is made from rock from "flood creek".  Yeah to never have to move that stove again! Soapstone stoves are HEAVY.


I LOVE the railing...Aaron did such a fantastic job.  We used rebar for our uprights and rough sawn timber for the framework. 

We stained the stairs to match the rest of the flooring.


I think the stairs are one of my favorite design aspects of this house.  They are rich with color and texture. The old beams we used for the posts came to life with just a bit of stain.  The rebar and copper railing tie it all together.  Copper railing...beautiful. 

Brilliant.

It's a good thing I love the stairs so much since there are a lot of them.


The two bedrooms on the second floor are the same blue as the bathroom.  We decided we should curb our love of color and at least stick with a color we like in the rooms instead of having three different colors to mix with the already YELLOW wall in the stair well. I really like how the blue ended up.

You can see how some of the doug fir timbers are different colors. We've only oiled sections of them so far...more projects I guess.


The second floor foyer area. 


Our kitchen is the most unfinished part of the house. We have some projects left, but it's done enough for now.  The cabinets will be stained a rich blue/gray.  Where the table is under the pot rack, we will have a butcher block top island.  Under the blue pendant lights we will have a live edge burl bar top.  We need to build a few more custom cabinets in the corner as well.


Copper countertops with slate backsplash.


Some of the living room.  The elk chandelier that Aaron built is the center piece. The ceiling is pine T&G. We love how it brightens the room.  Our woodstove is the Hearthstone Homestead; we really love it.


Almost done siding the house.  We used locally cut wood 1x8's and 1x4's. We did vertical board and batten with the 1x8's overlapped by 1x4's. We used a semi transparent black stain that when dried looked like old charcoal gray.  We really wanted a weathered gray look.  We are pretty pleased with how it turned out.


The death walk finally has railing! Yeah!  I can't believe we walked down that all last winter with the dogs and no one got hurt.  Nice to have some peace of mind about it now!

Home on Paine Rd.


Some Finished Pictures of the House


Our first floor office nook and laundry area.


Back
 

·Home· ·Antler Tables·  ·Antler Lighting· ·Antler Accessories· ·Antler Cribbage Boards· ·Antler Art· ·Order·
·All About Us· ·Alaska Adventures·  ·Timber Frame ·  ·Log Cabin· ·Bookstore·
 

©2004-2020 Alaska Antler Works
  Somers, Montana
 Alaskaantlerworks@gmail.com
(907) 306-9535

Design by Jill Bork

This site was last updated 01/27/20